Hello!
I’m Jordan, and alongside my boyfriend, Lewis, I’m excited to share our journey of transforming a basic stone bungalow into a quaint English cottage. More importantly, I’m here to offer you tips, insights, and inspiration for your own renovation journey.

In the Summer of 2022, amidst a sellers’ market, we embarked on our journey of buying our first home together. We had our hearts set on a specific location in the Pennines, close to family and friends. Dreaming of a grade II listed cottage surrounded by ample land (yes, a bit of a stretch on our budget), we eventually found a hidden gem: a quaint stone bungalow in need of love and care, ripe for transformation into a charming cottage.
TIP:
When house hunting, balance your dreams with practicalities like location and budget. Look for potential, not perfection.
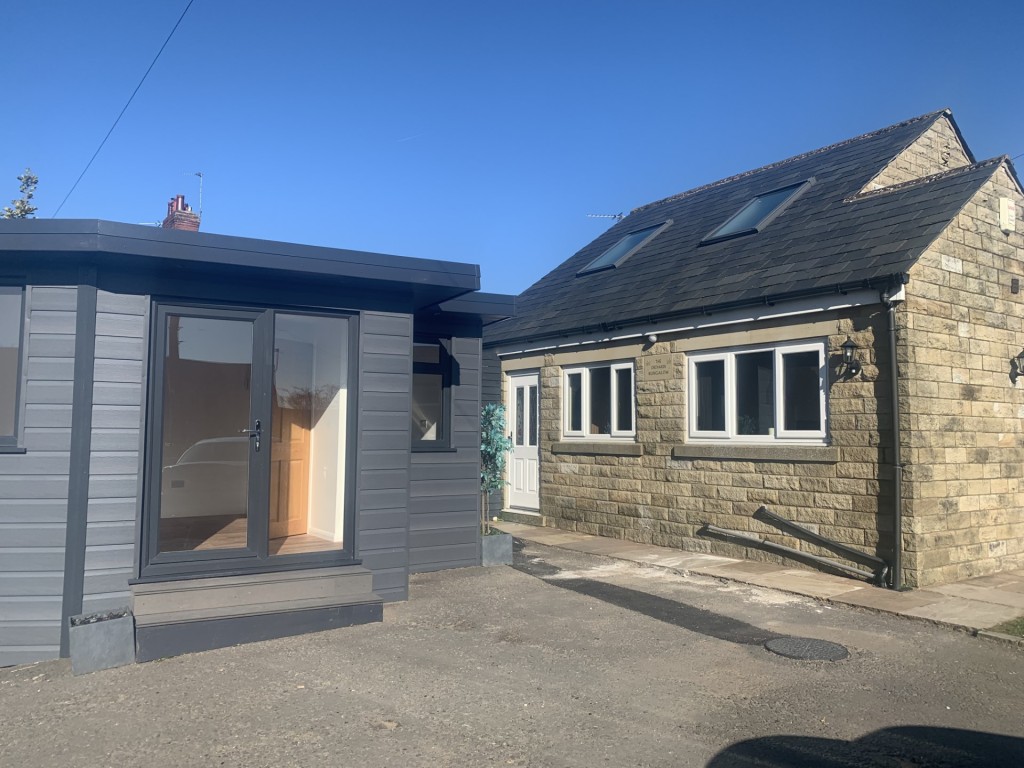
Our home is cozily tucked away down a dirt lane, a detached two-bedroom bungalow with an adjoining ‘shed’ and a generous south-facing garden. We were captivated by its stone façade, envisioning garden BBQs, and Lewis was particularly thrilled about claiming the shed as his man cave.
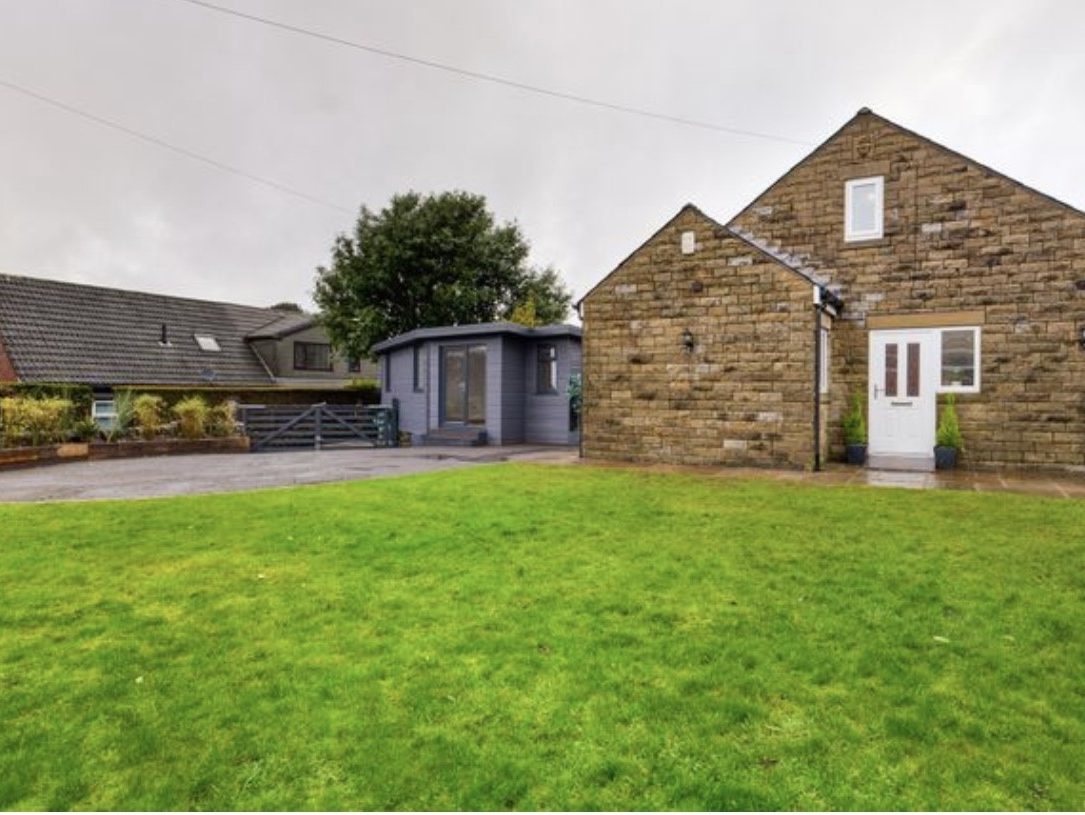
However, it wasn’t all perfect. The garden, while spacious, required thoughtful planning and landscaping to become a quintessential English cottage garden. Our privacy was a concern too, with a public path running alongside and neighbors overlooking from the back, limiting our extension plans.
Inside, the bungalow, built in 2012 for a neighbour’s elderly relative, was basic but functional. Previous owners had made some changes, such as merging two upstairs bedrooms into a larger master suite and converting the shed into a workable home office with added plumbing and electricity. Yet, the kitchen, living spaces, and bathrooms remained untouched.
TIP:
Weigh your non-negotiables against areas for creativity. For us, privacy concerns could be mitigated with clever landscaping and were outweighed by the positives.
Tour
“The Den”
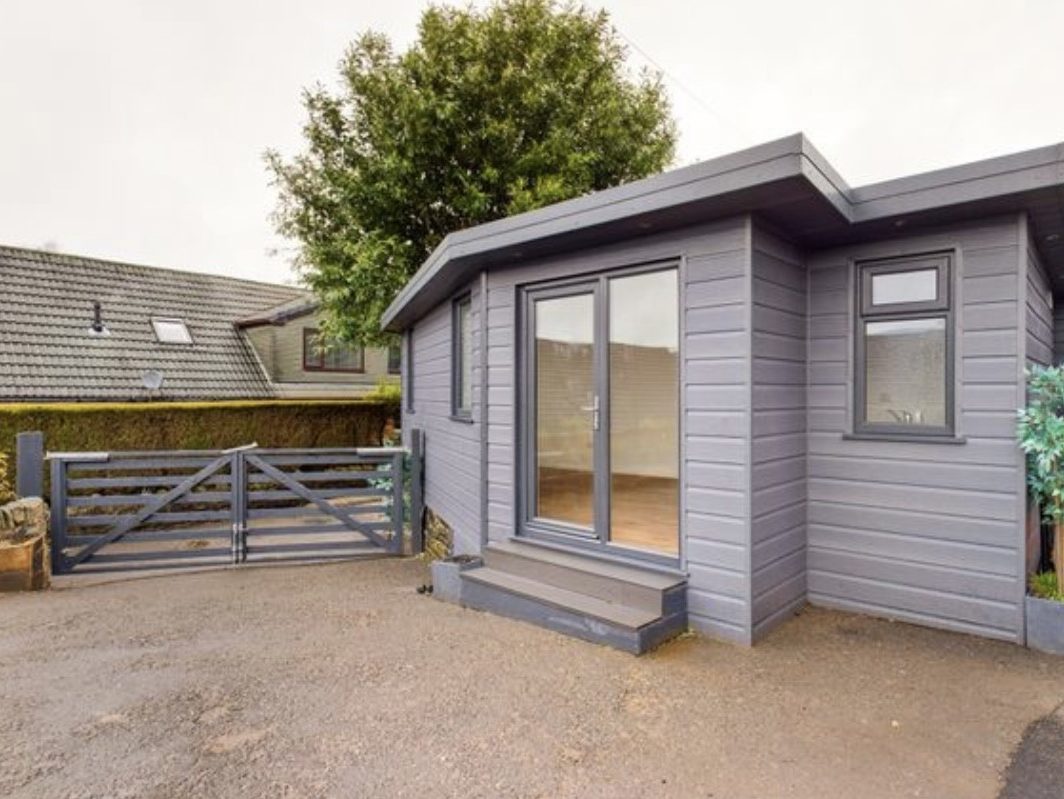
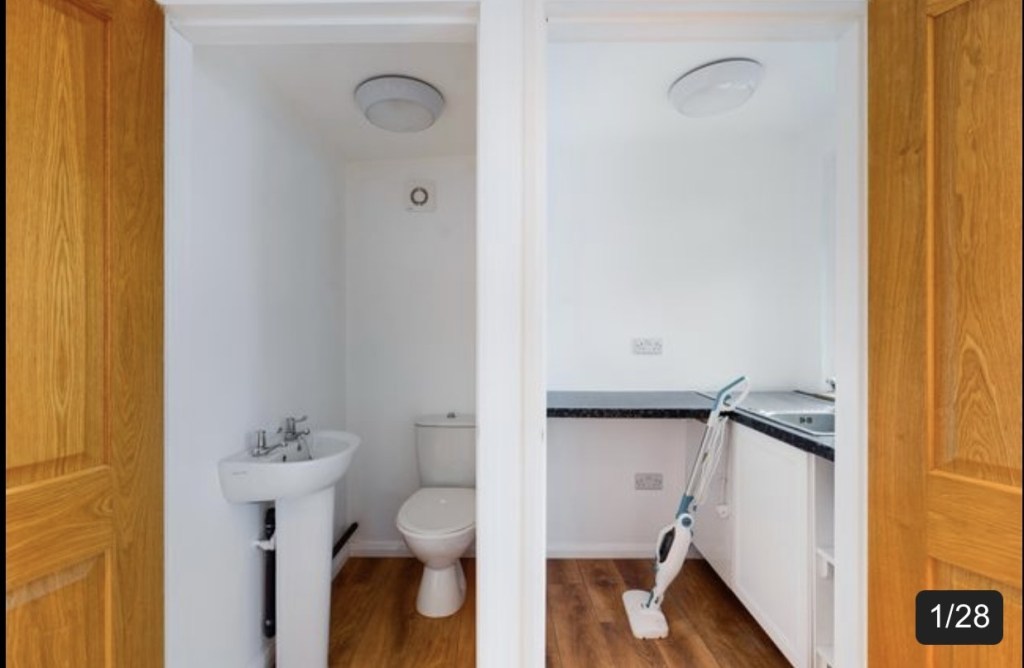
Let’s start with the shed, affectionately known as “The Den”. Originally a basic shed, it underwent a transformation by the previous owner. Walls were reinforced, shiplap added, and essential utilities installed.
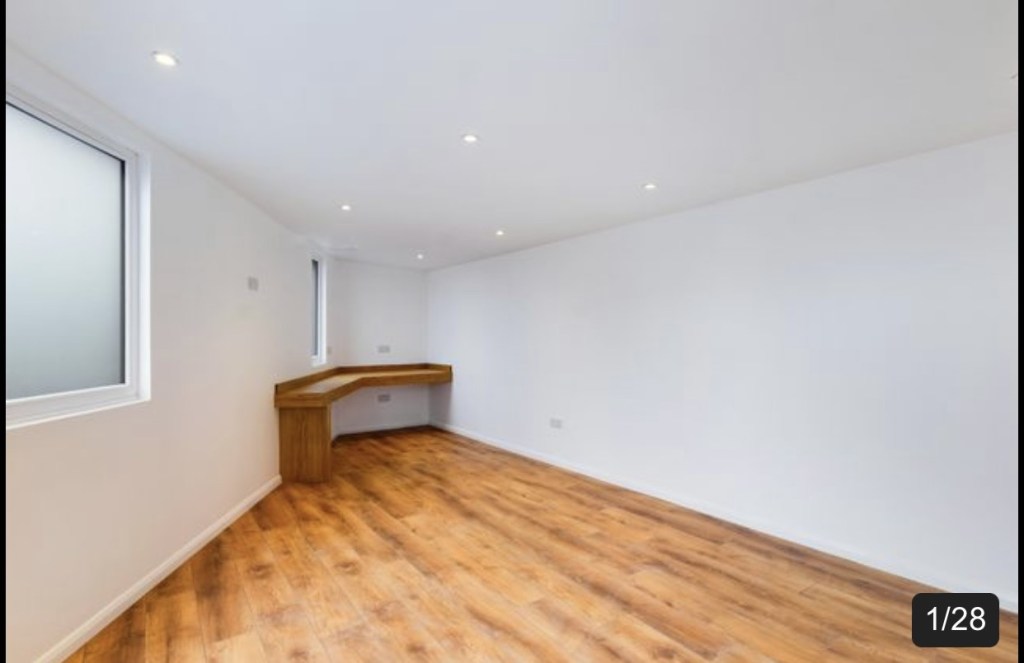
The interior now features white walls, a wooden floor, a floating desk, a small toilet, and a kitchenette, making it a versatile space for hosting or as an additional guest area.
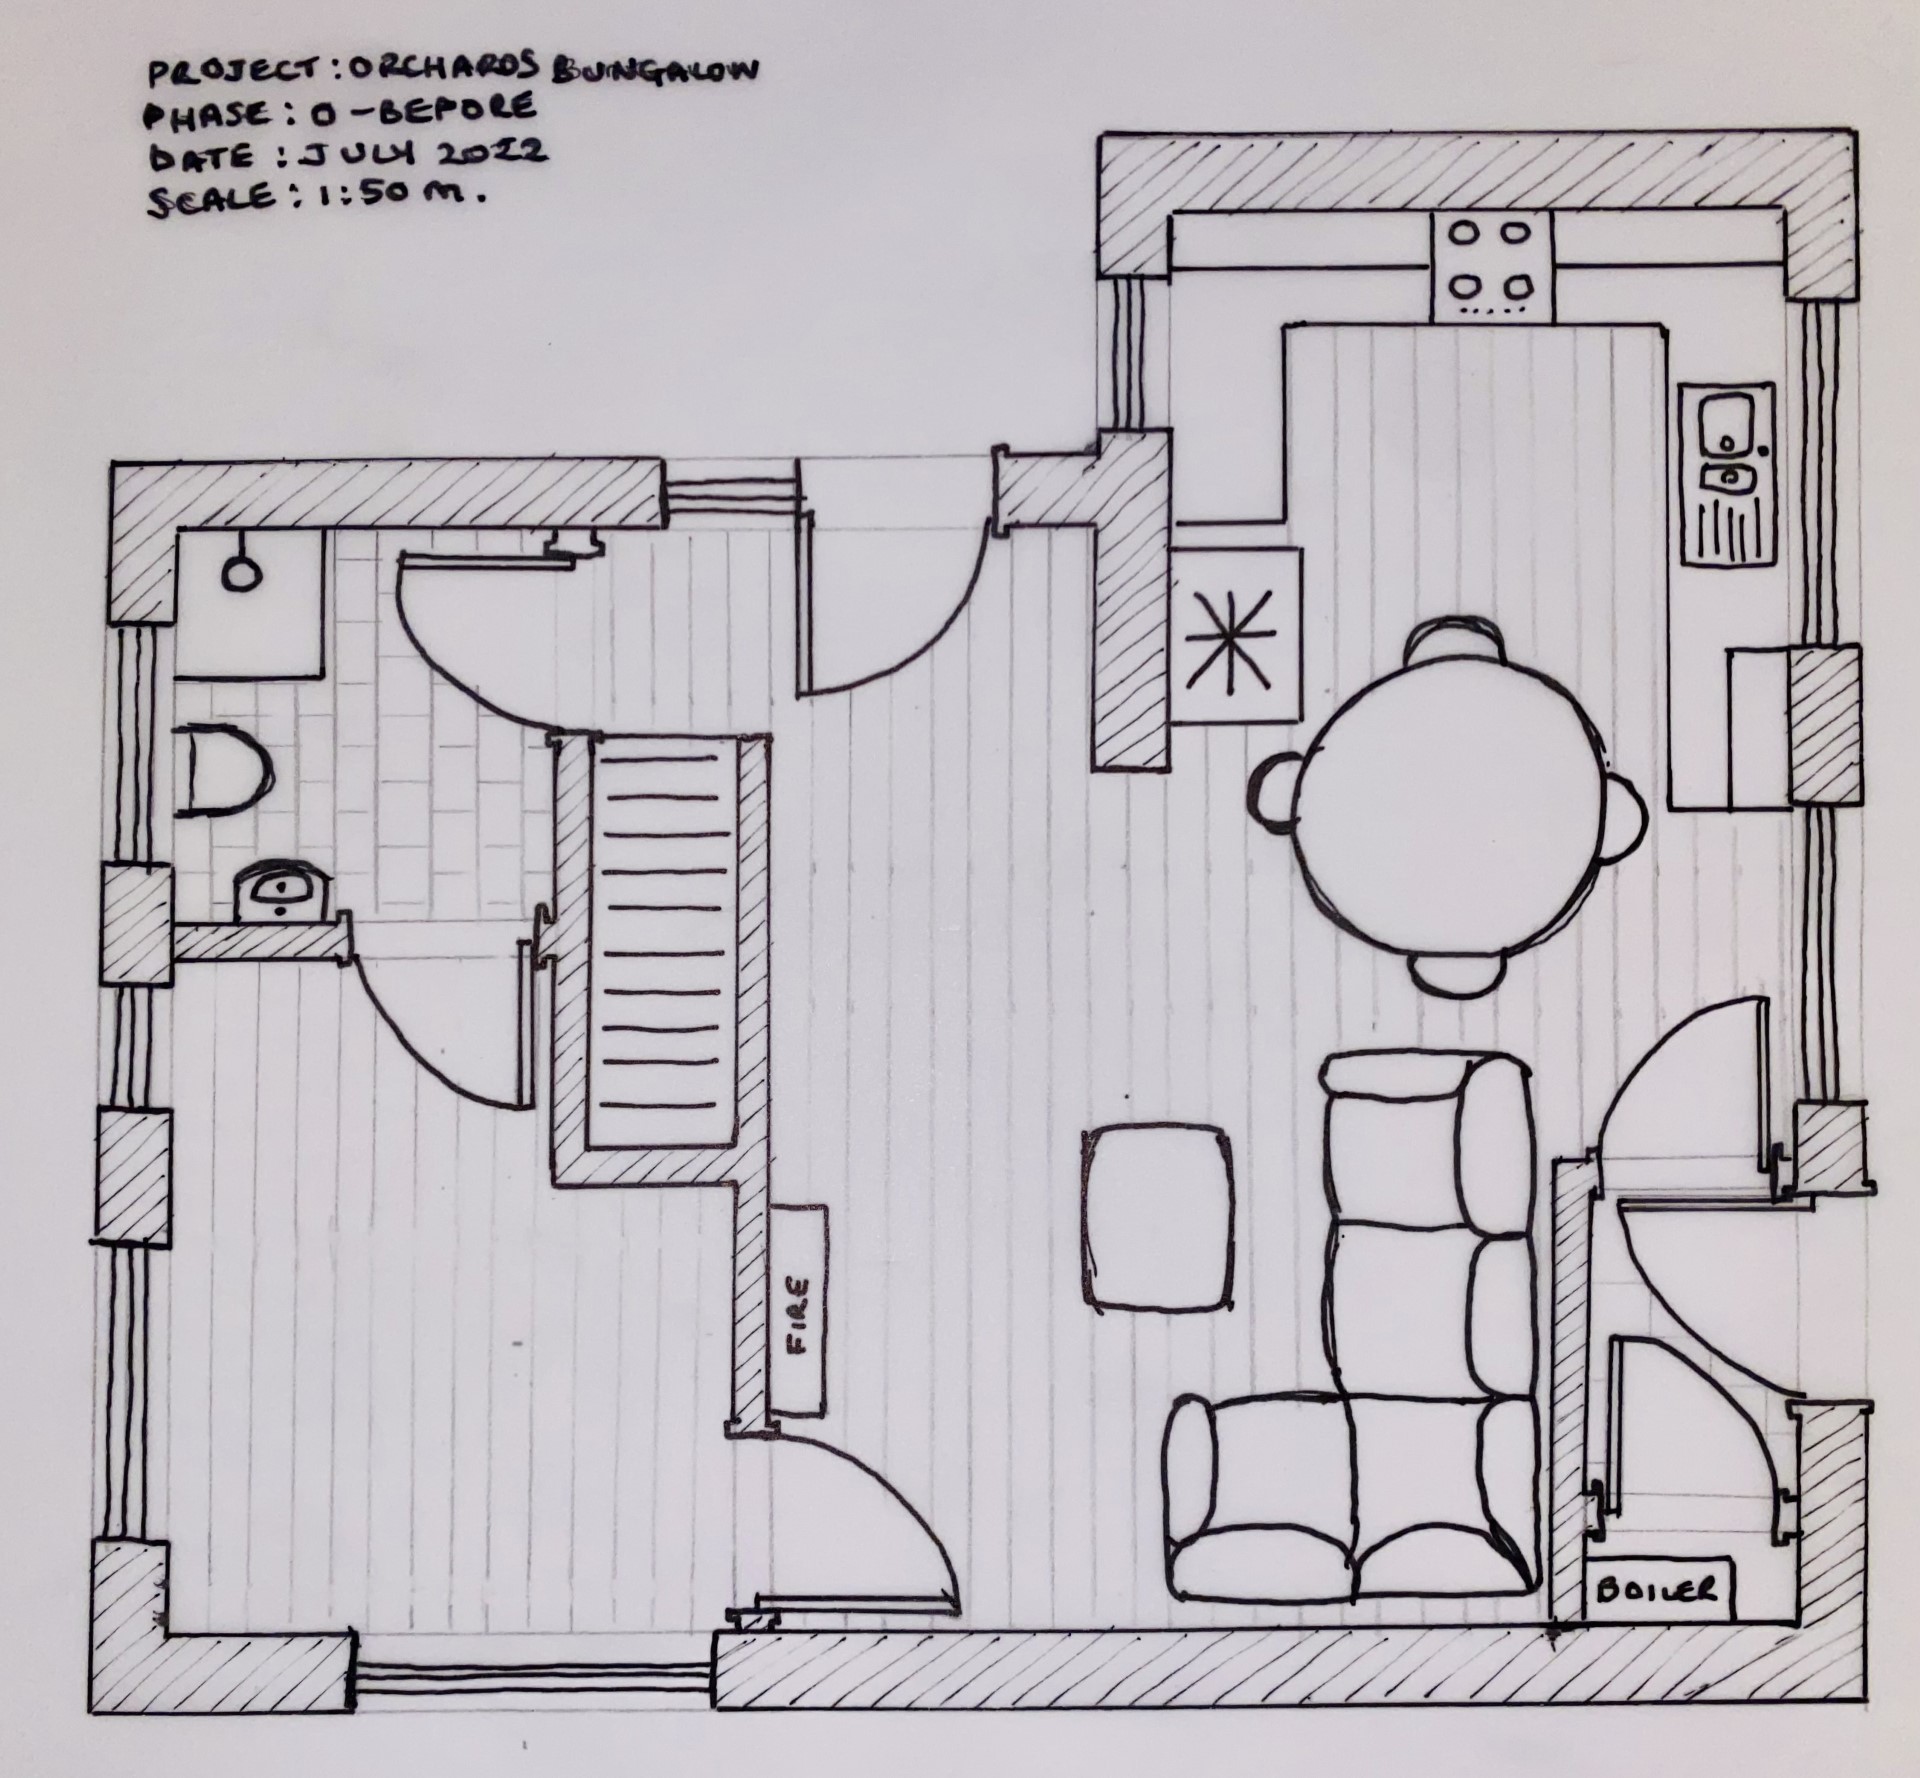
Main Living Space
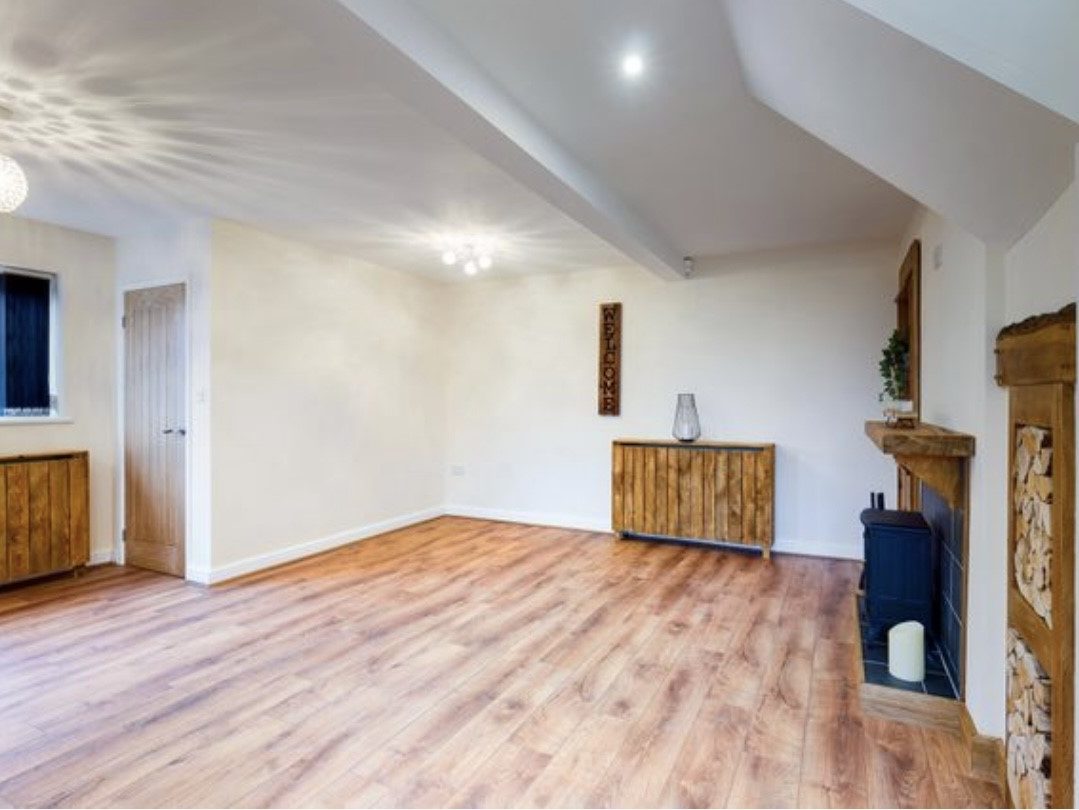
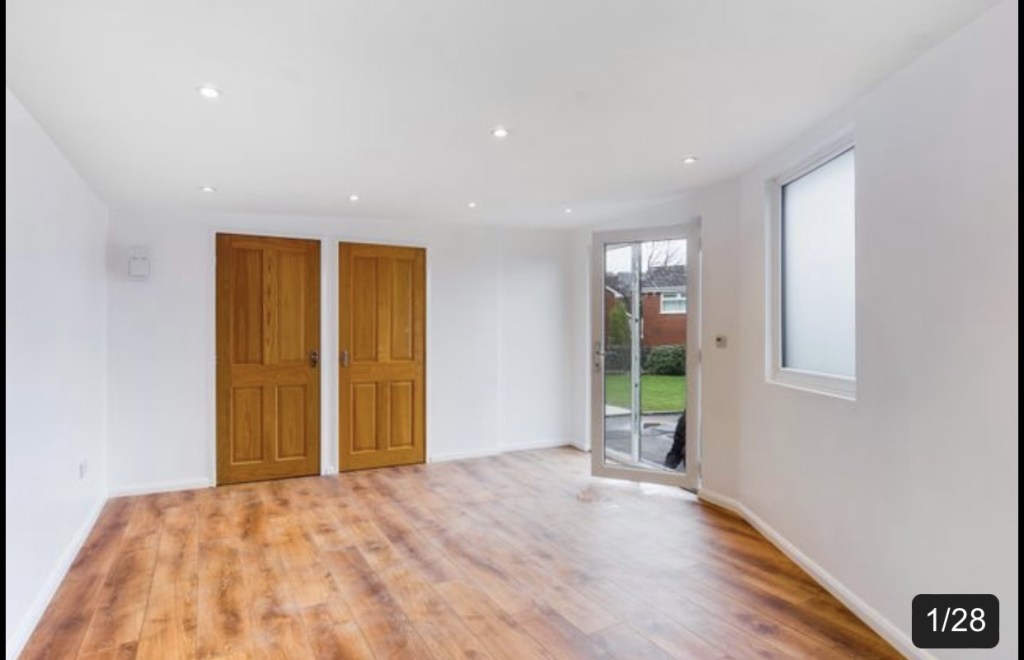
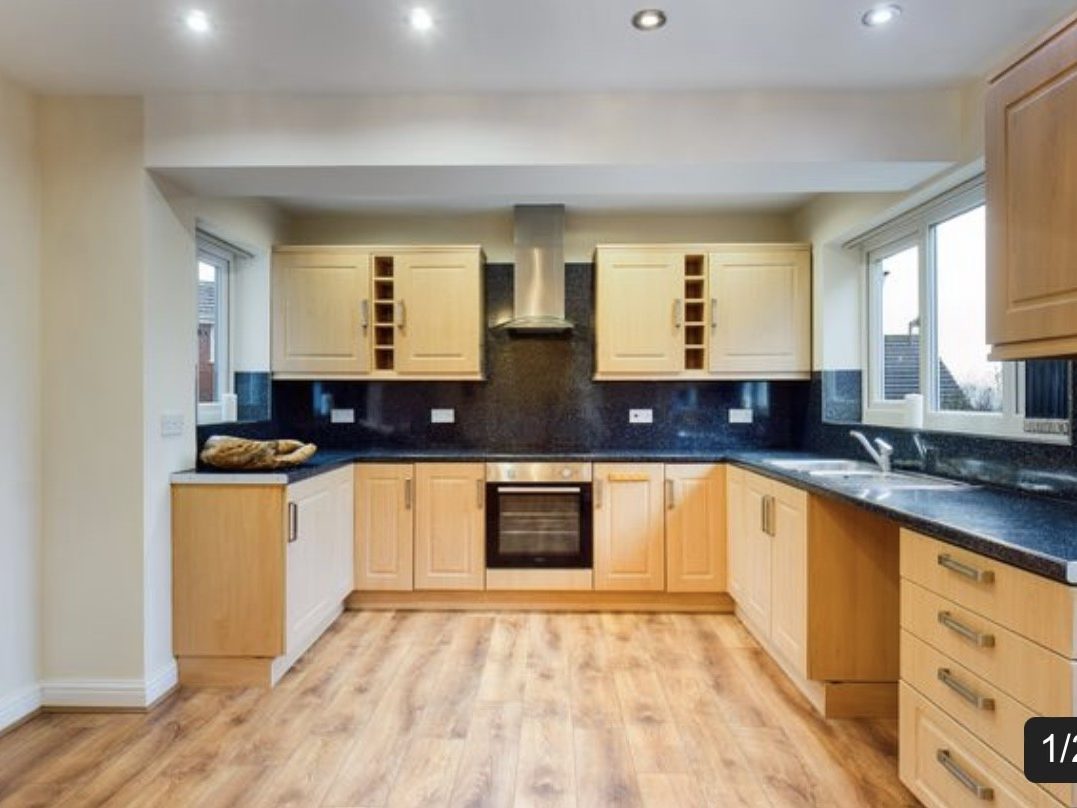
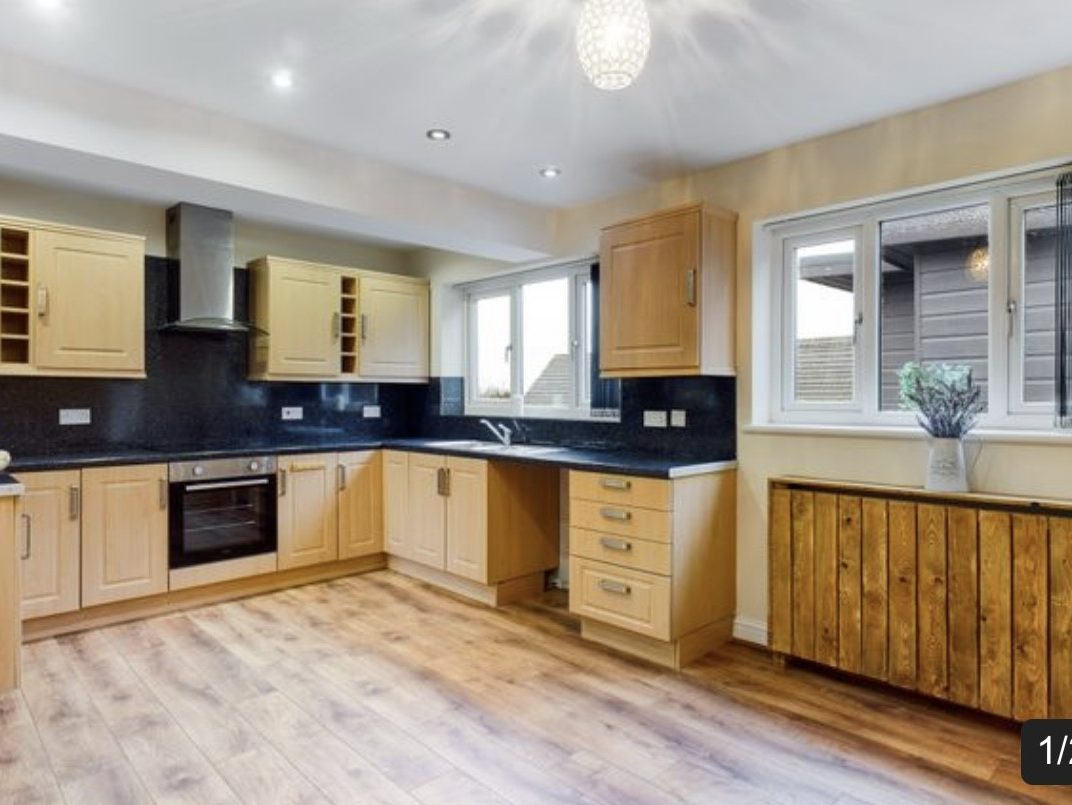
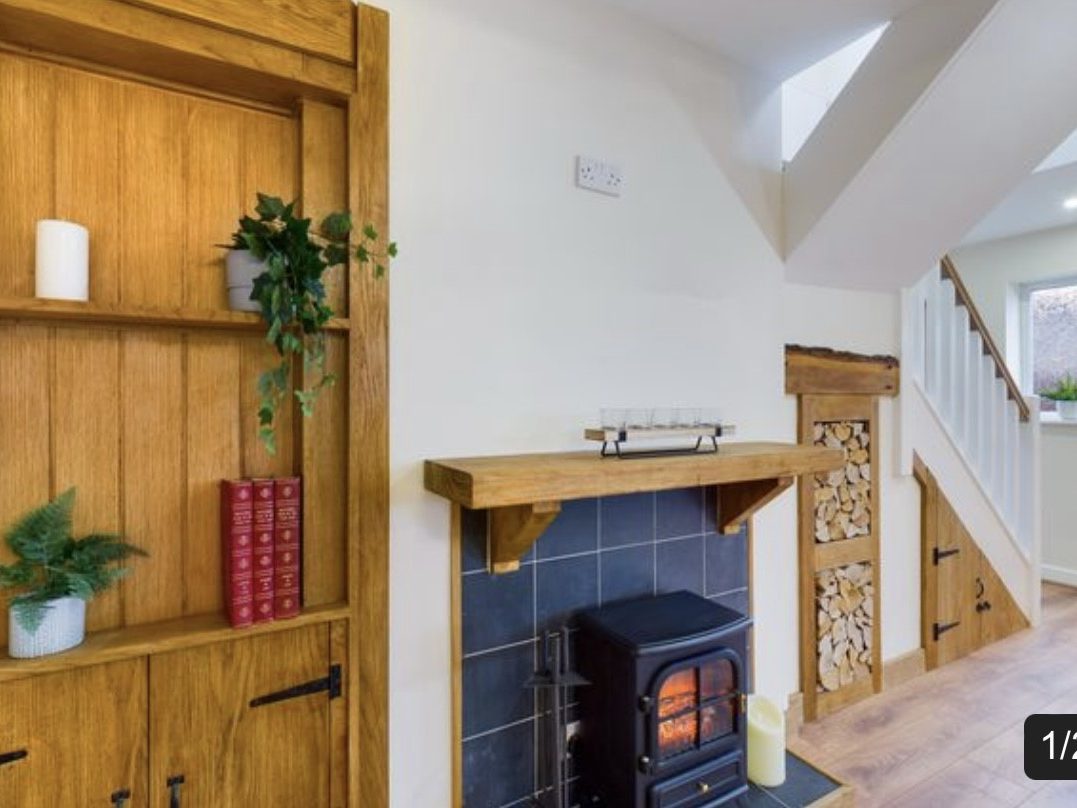
The house itself has two entrances. The main front entrance, dark and compact with a closet housing the boiler and fuse board, led us to prefer using the ‘back door’ – the one with the letterbox. This door opens into an open-plan living-dining-kitchen area. Here, the living space hosts a small, tiled fireplace with an electric fire, while the kitchen-dining area presents challenges with its orange wood cupboards, black countertops marred by wear, and a rusting silver sink with incorrectly fitted taps.
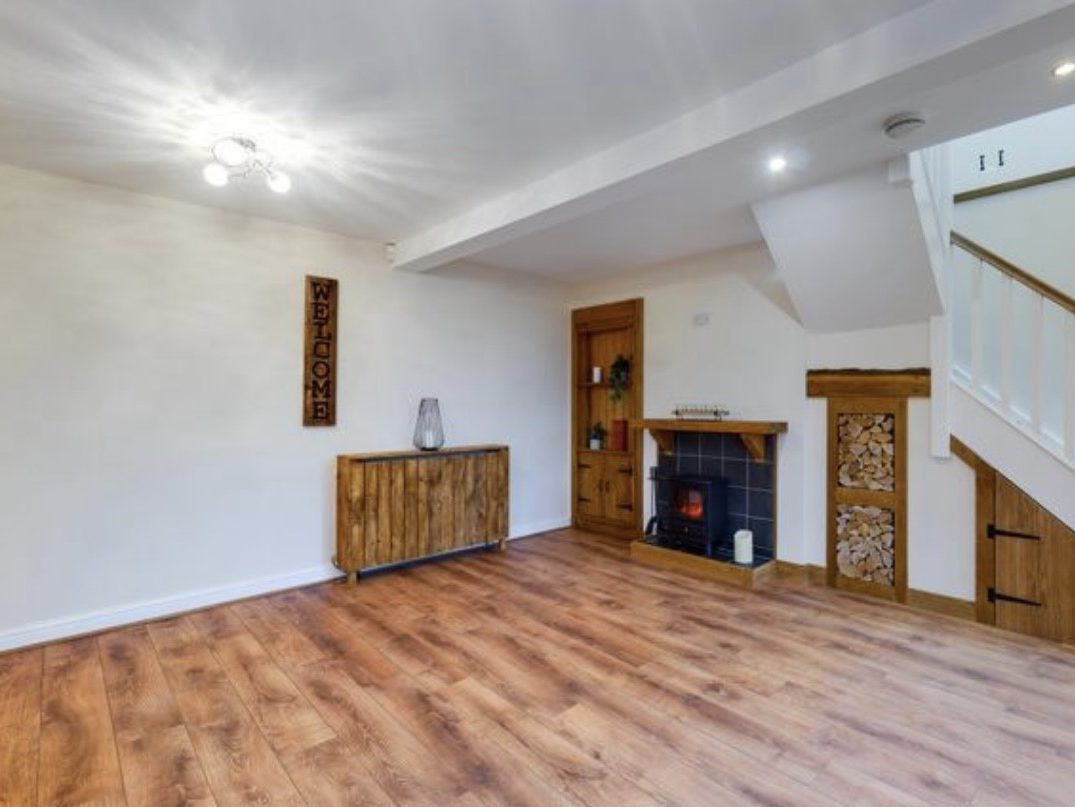

Guest Bedroom

Tucked away in the living room is a hidden door to the guest bedroom. Its unique shape just about accommodates a double bed and includes a small storage cupboard under the stairs. Privacy windows are a necessity due to the proximity of neighbors.
Downstairs Bathroom

Accessed via the guest bedroom, the jack-and-jill bathroom, though functional, is starting to show signs of mold and lacks storage and finesse. This bathroom contains the only shower in the house. Through the other entrance, it connects back to the main living area and the staircase.
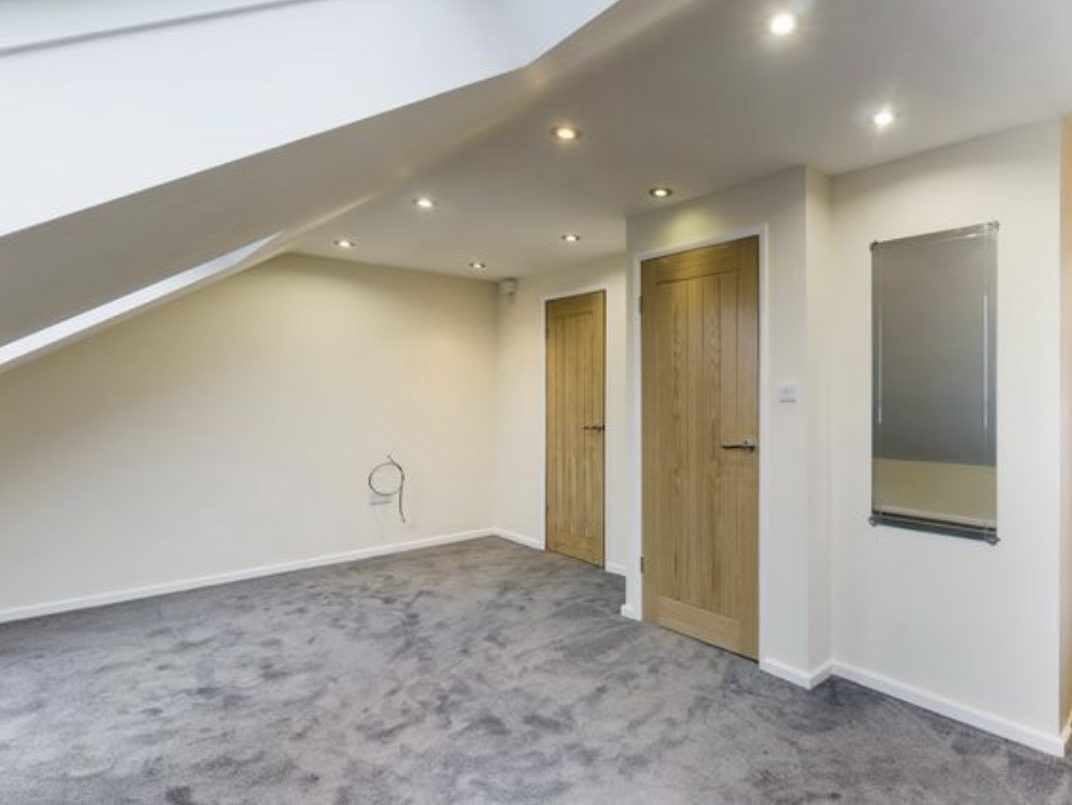
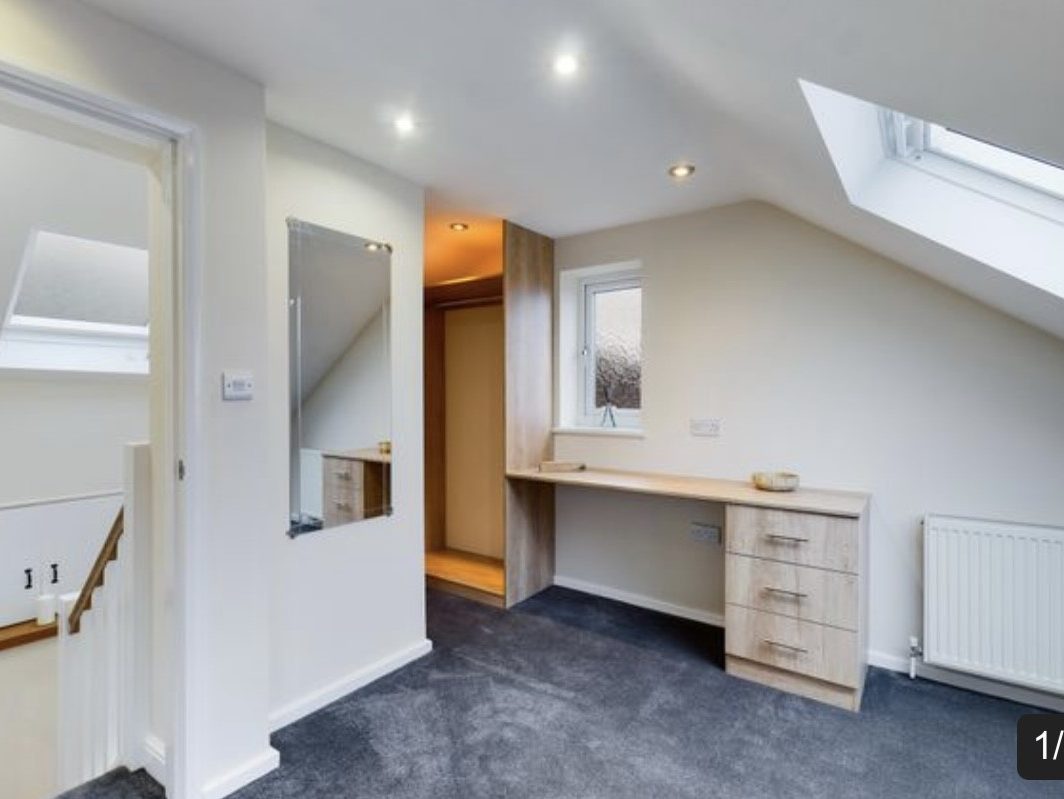
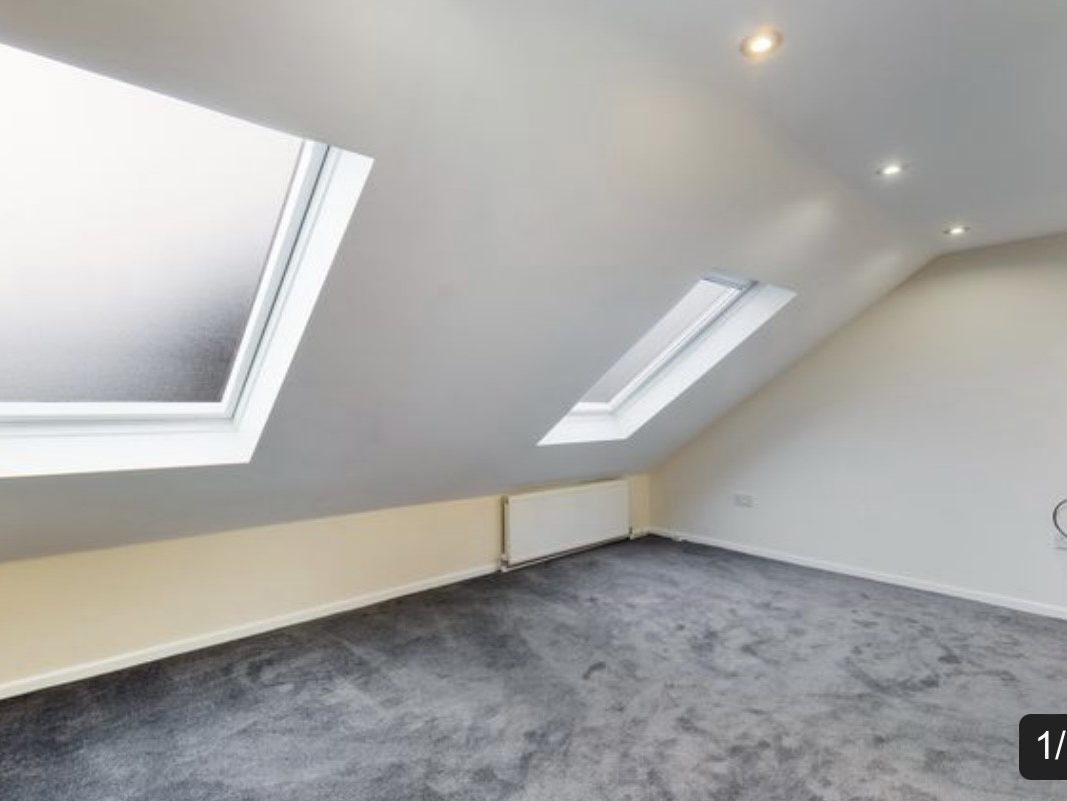
Primary Bedroom and Bath
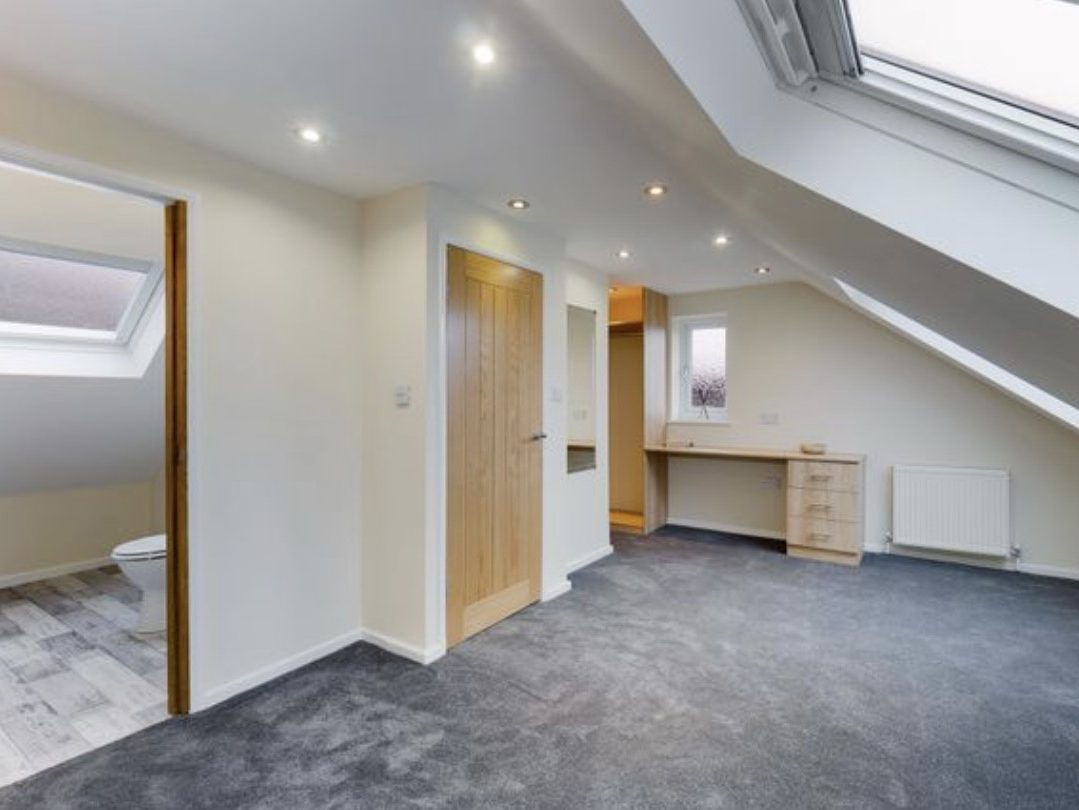
Upstairs, the converted loft serves as our master bedroom, once two separate rooms. It’s hard to imagine it divided again. Two Velux windows offer views of Manchester on sunny days, and a small walk-in closet is tucked in a corner. The ensuite, though functional, lacks the grandeur one would expect in a master suite.
Our Vision and Plans
Despite all my critiques, we saw potential in this house and had plans to make it ours. After settling in for six months, we understood the space better – what worked, what didn’t, and what we needed.
TIP:
Live in your space before renovating. It helps in understanding your needs and how the space functions throughout the day.
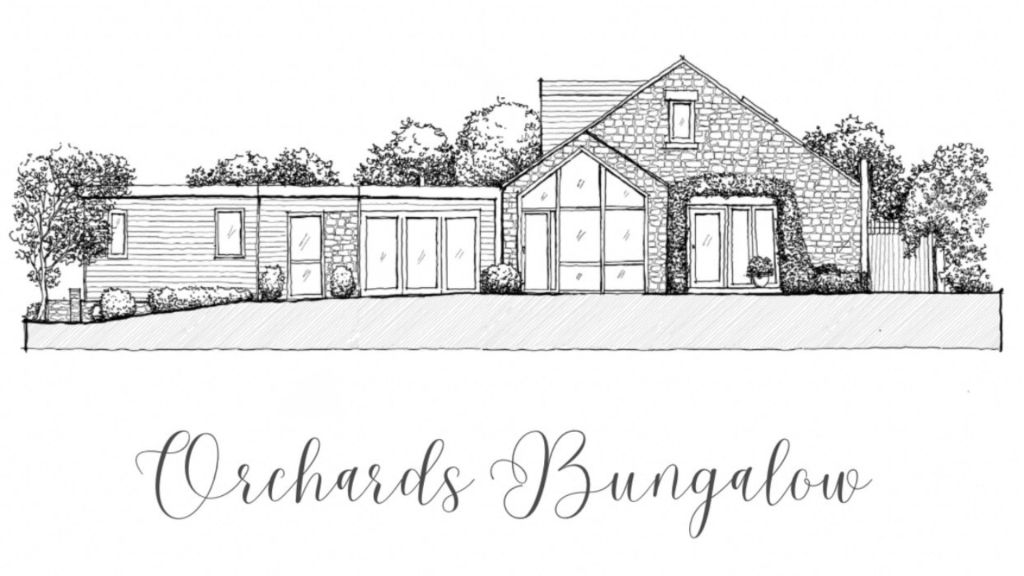
We asked a local architect (Creative Architects Ltd) to draw up plans for an extension, which we submitted for planning in March 2023. The goal is to integrate “The Den” into the main house.
Here’s a sneak peek of the exterior transformation:
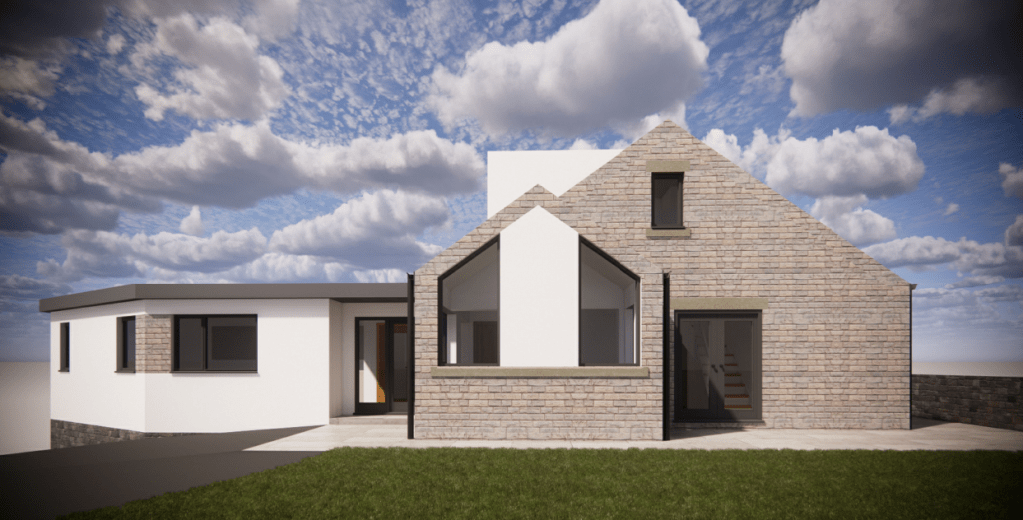
And the proposed interior floor plan:

We’re looking at a total reimagining of the current layout to suit our lifestyle better.
Phased Renovations
We are by no means billionaires, and as such we plan to do our renovation in phases.
TIP:
Breaking your project into phases allows for manageable changes and better budget control. Plan your phases extensively for a cohesive renovation.
Phase 0: Redecorating “The Den”
Our first task is to give “The Den” a makeover, turning it into a cozy and functional space where we can relax and manage the chaos of renovation. The plan includes fresh paint and shiplap ceiling to cocoon the space, adding vintage touches, and introducing comfortable furniture to create a mini cinema room. We’ll also equip it with some basic kitchen essentials and a snug work area for Lewis. This way, “The Den” will serve as our temporary living space, allowing us to keep a close eye on the renovation progress while having a peaceful retreat away from the dust and noise.
Phase 1: Utility Room and Guest Ensuite Transformation

Next, we’ll tackle the downstairs area. We aim to convert this space into a dual-purpose area: part utility room, part guest ensuite. This means installing new fixtures and fittings to create a functional laundry space alongside a compact yet comfortable bathroom for our guests.
Phase 2: Kitchen and Living Area Remodel

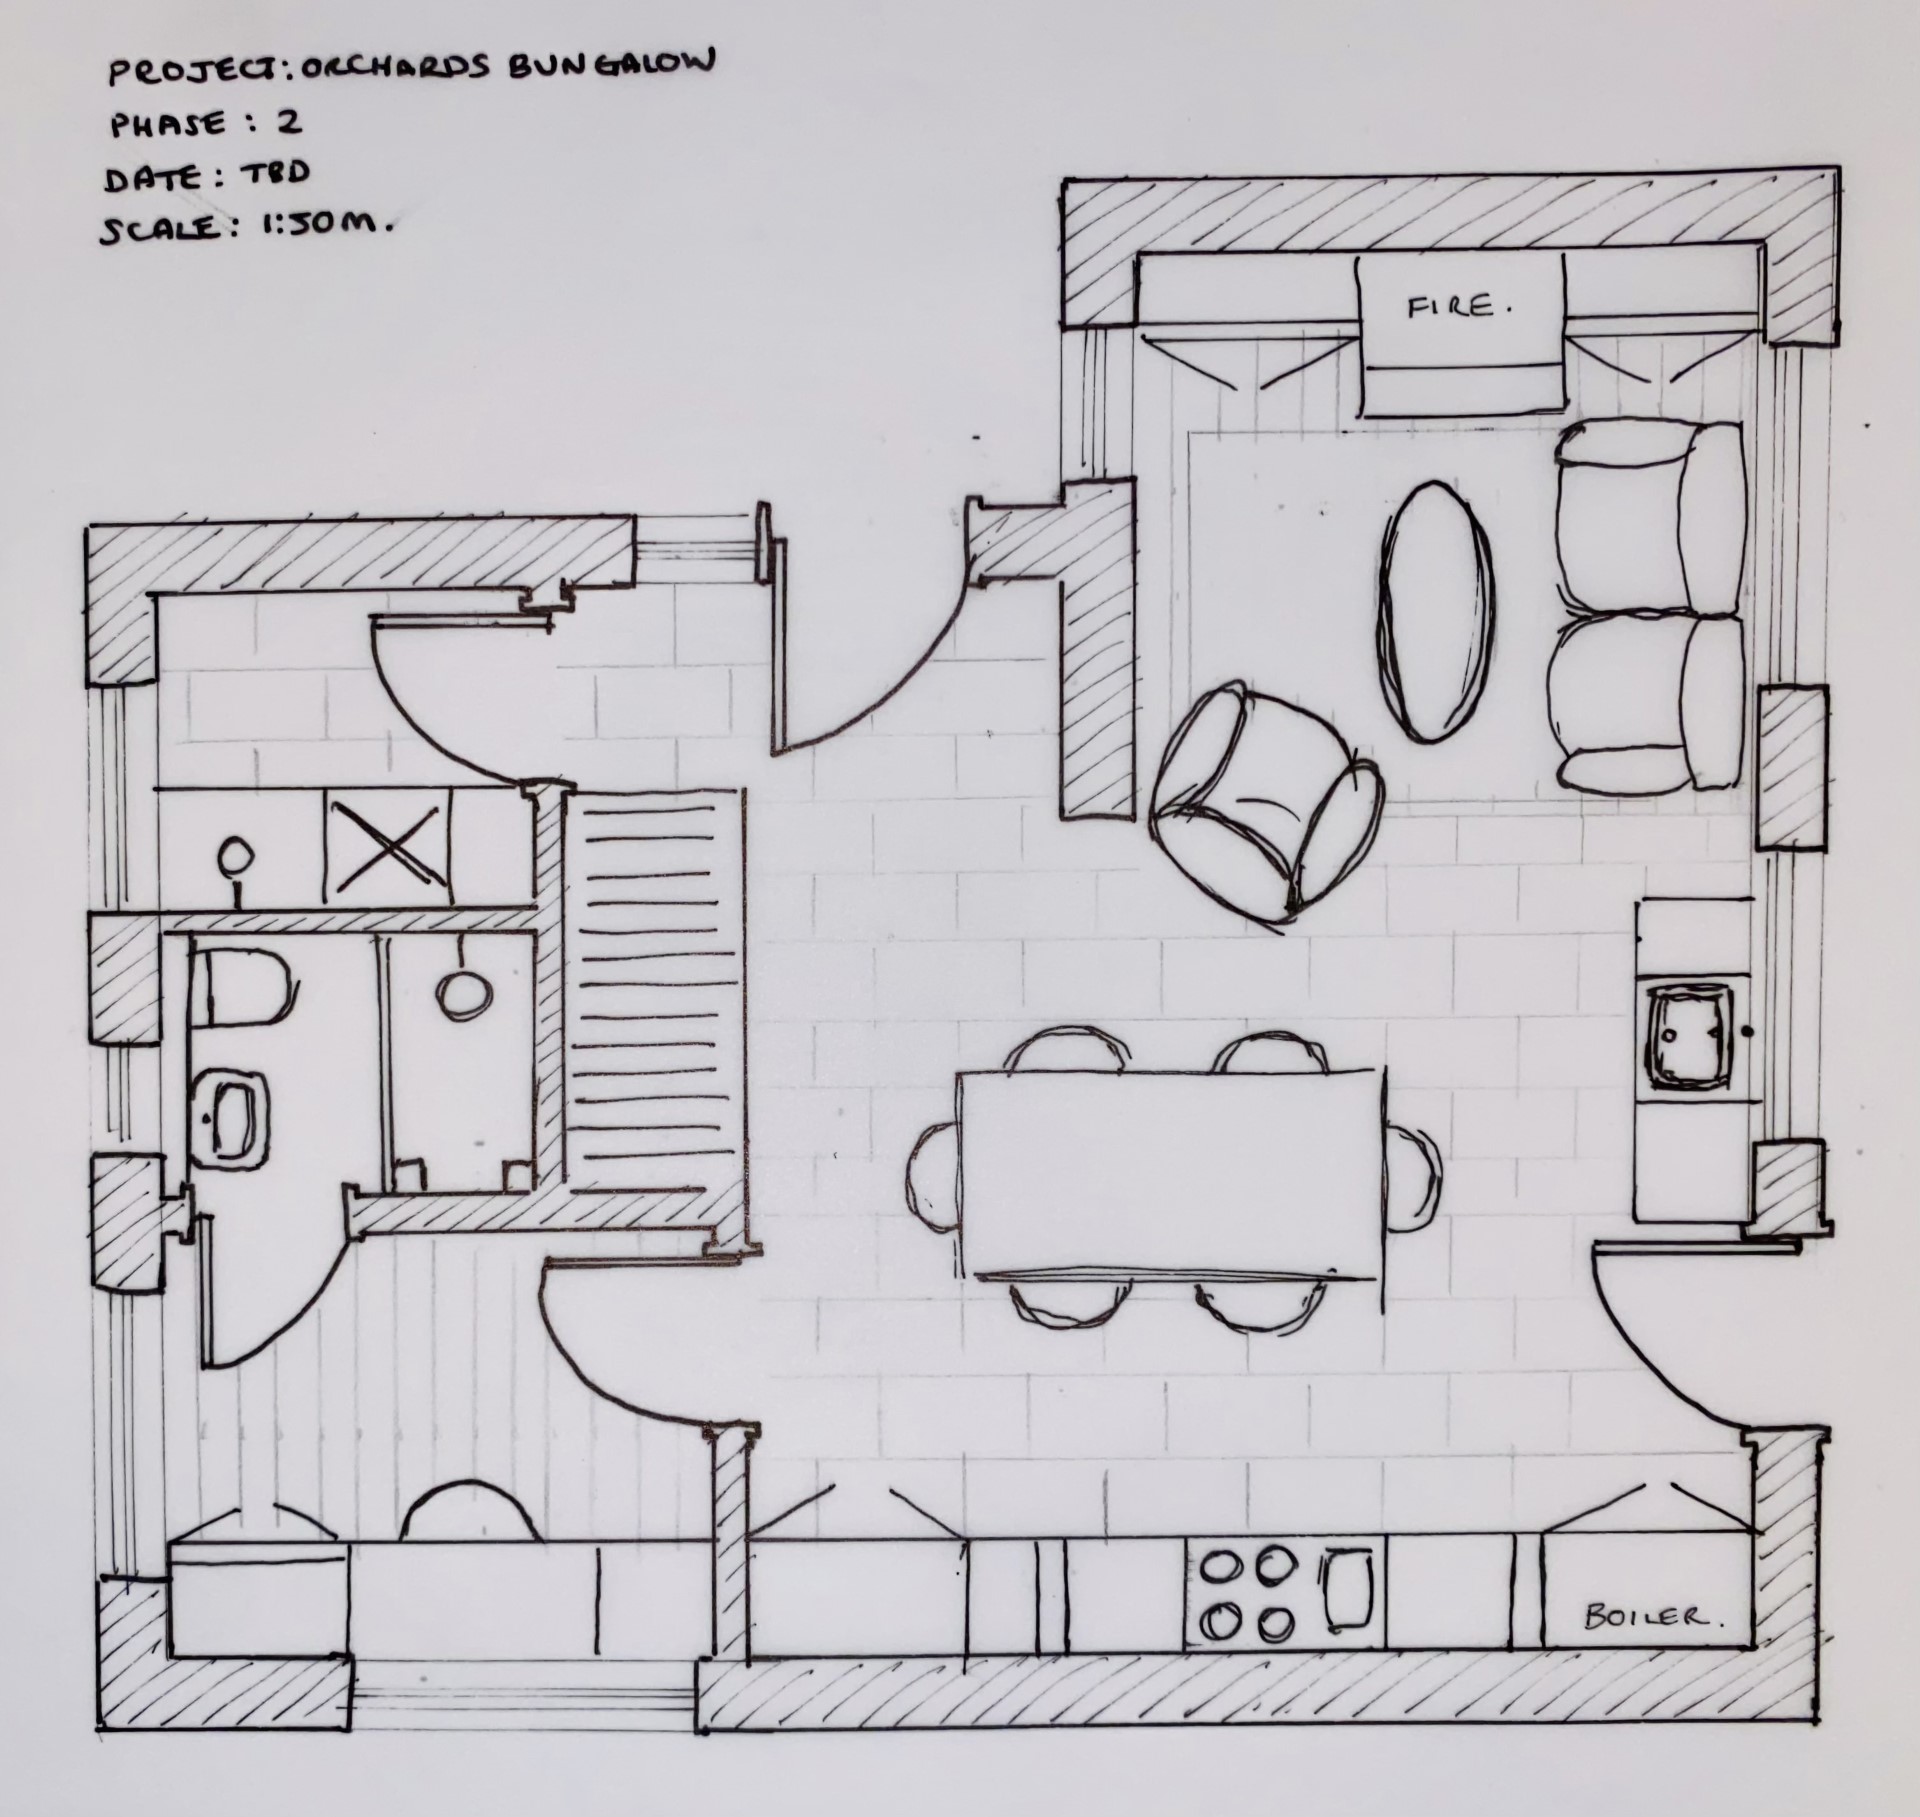
The main living area will undergo a significant transformation, evolving into a bright but cottage-inspired kitchen, giving Lewis his ideal space to cook up a storm, and allowing for better flow when friends and family inevitably come to taste his cooking.
The existing kitchen will eventually be reimagined into a dining room (phase 3). However, for now, the old kitchen will become an additional living space just off the kitchen.
Phase 3: Major Extension and Reconfiguration
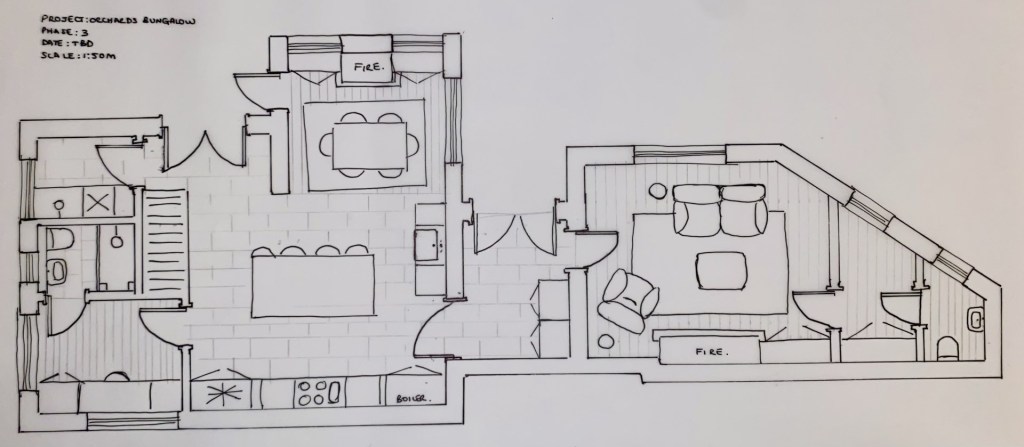
Our most ambitious phase involves adding the extension and reorganizing the existing spaces. This will include integrating “The Den” into the main structure, creating an open-plan layout that flows seamlessly from one area to another.
We’re planning to shift the main entrance of the house. The new doorway will be positioned between “The Den” and the main house. This change is not just about aesthetics; it’s about creating a more practical and accessible entrance. It will be closer to the driveway and gate, making it easier for us and our guests to come and go. And what was The Den will become the new living room, with a workspace for Lewis and a new downstairs loo.
This phase also includes some minor changes to the main house, including adding French doors from the kitchen to the garden, improving the connection to the outdoors. An island will be added in place of the dining table, and the dining table will be moved into a dedicated dining space, complete with a charming new fireplace, and plenty of windows to the garden, setting the stage for many memorable gatherings.
Phase 4: Upstairs Renovations
Finally, we’ll focus on the upstairs, where we plan to revamp the master en-suite and possibly add a dormer, subject to final designs and approvals. It may be that we just redecorate up here!
So, there you have it, a whistle-stop tour of our house and plans. We hope that by sharing our journey, you’ll find inspiration and ideas for your own project.
Stay tuned for in-depth renovation diaries as we progress through each room and phase!
JG x

Leave a comment