Renovating a kitchen is as much about embracing the journey as it is about achieving the final result. After months of dreaming, planning and envisioning a kitchen that reflected the timeless charm of English cottage interiors with modern functionality, we were ready to begin. The transformation process – filled with demolition chaos, smart material choices, and DIY triumphs – laid the foundation for our dream kitchen.
In this post, I’ll walk you through the pivotal moments of our renovation journey, from tearing down the old space to the excitement of adding early design touches. Whether you’re an interior design enthusiast or planning your own DIY renovation, there’s plenty of inspiration and insight to uncover.
Demolition Drama
Every great transformation beings with clearing the slate, and for us, this meant saying goodbye to the outdated, cramped kitchen. Armed with determination (and a little trepidation), we tackled the demolition head-on.


Challenges we faced:
- Living without a kitchen: With our appliances and utensils packed into boxes, we set up a temporary kitchen in the shed – a far-from-ideal solution that made us appreciate every small step toward progress.
- Tearing down the vestibule: One of the most satisfying moments was removing the small vestibule that blocked the natural light from flooding the space. As soon as it came down, the room felt instantly larger and brighter. However, this also revealed the boiler, a design challenge we knew we’d need to solve creatively.
Demolition wasn’t glamorous, but it was an essential first step toward realising our vision of a light-filled, functional kitchen that embraced the character of our home.
Prepping for Progress


Once the old kitchen was cleared, the space was a blank slate ready for transformation. The next priority was first-fit electrics and plastering, which created a solid foundation for the next stages. We were on a tight timeline, aiming to make the space usable for the holidays.
At the same time, we finalised the materials and layout of the kitchen. After exploring numerous suppliers, we chose DIY kitchens for their excellent quality, customisation options, and cost-effectiveness.


We selected a classic shaker-style design, perfect for the English cottage aesthetic we were aiming for. The neutral greige shade, Mussel, complemented the earthy palette inspired by the Saddleworth Moors and provided a timeless backdrop for layering textures and decor. Wood carcasses with MDF doors offered a practical balance of durability and affordability. Their pre-assembled units made the installation process smoother. Their design tool and showroom consultations gave us confidence that every detail of our layout would work seamlessly.
With our cabinetry order placed and plastering complete, the kitchen was ready for the next exciting phase: installation.
Underfloor Heating


Taking on elements of the renovation ourselves not only saved money but also allowed us to pour our creativity and effort into the space. One of the most rewarding DIY projects was installing underfloor heating, a feature that added both practicality and luxury to the kitchen.
Installing Underfloor Heating:
- Leveling the Floor: We used a self-levelling compound to create a smooth base.
- Reflective Paint: Applied to boost heat conductivity and ensure efficiency.
- Laying the Heating Wires: This step was repetitive but incredibly satisfying, as the system took shape before our eyes.
After the electrician completed the second fix, we tested the system and were thrilled when it worked perfectly. Underfloor heating was a small luxury that made a huge difference in the space, especially during cold UK winters.
Cabinet Installation


Next came the installation of the pre-assembled cabinets, with Lewis’ dad lending a helping hand. The process wasn’t without its challenges:
- Customising for the Boiler: To hide the exposed boiler, we had to adapt a tall cabinet, ensuring it fit seamlessly into the layout.
- Moving Tall Cabinets Forward: To accommodate the boiler, we move the wall cabinets slightly forward. This created a bespoke-looking niche for the range and the base cabinets, which became a beautiful focal point for the kitchen.
- Ensuring Symmetry: The range was the focal point of the design, carefully balanced the surrounding cabinetry to maintain a polished, cohesive look.
Despite these hurdles, seeing the cabinets come together was one of the most exciting moments of the renovation, as the space began to reflect our vision.
Adding Early Design Touches


Even with the larger installations in progress, we couldn’t resist adding some of the smaller details that would bring warmth and personality to the kitchen.
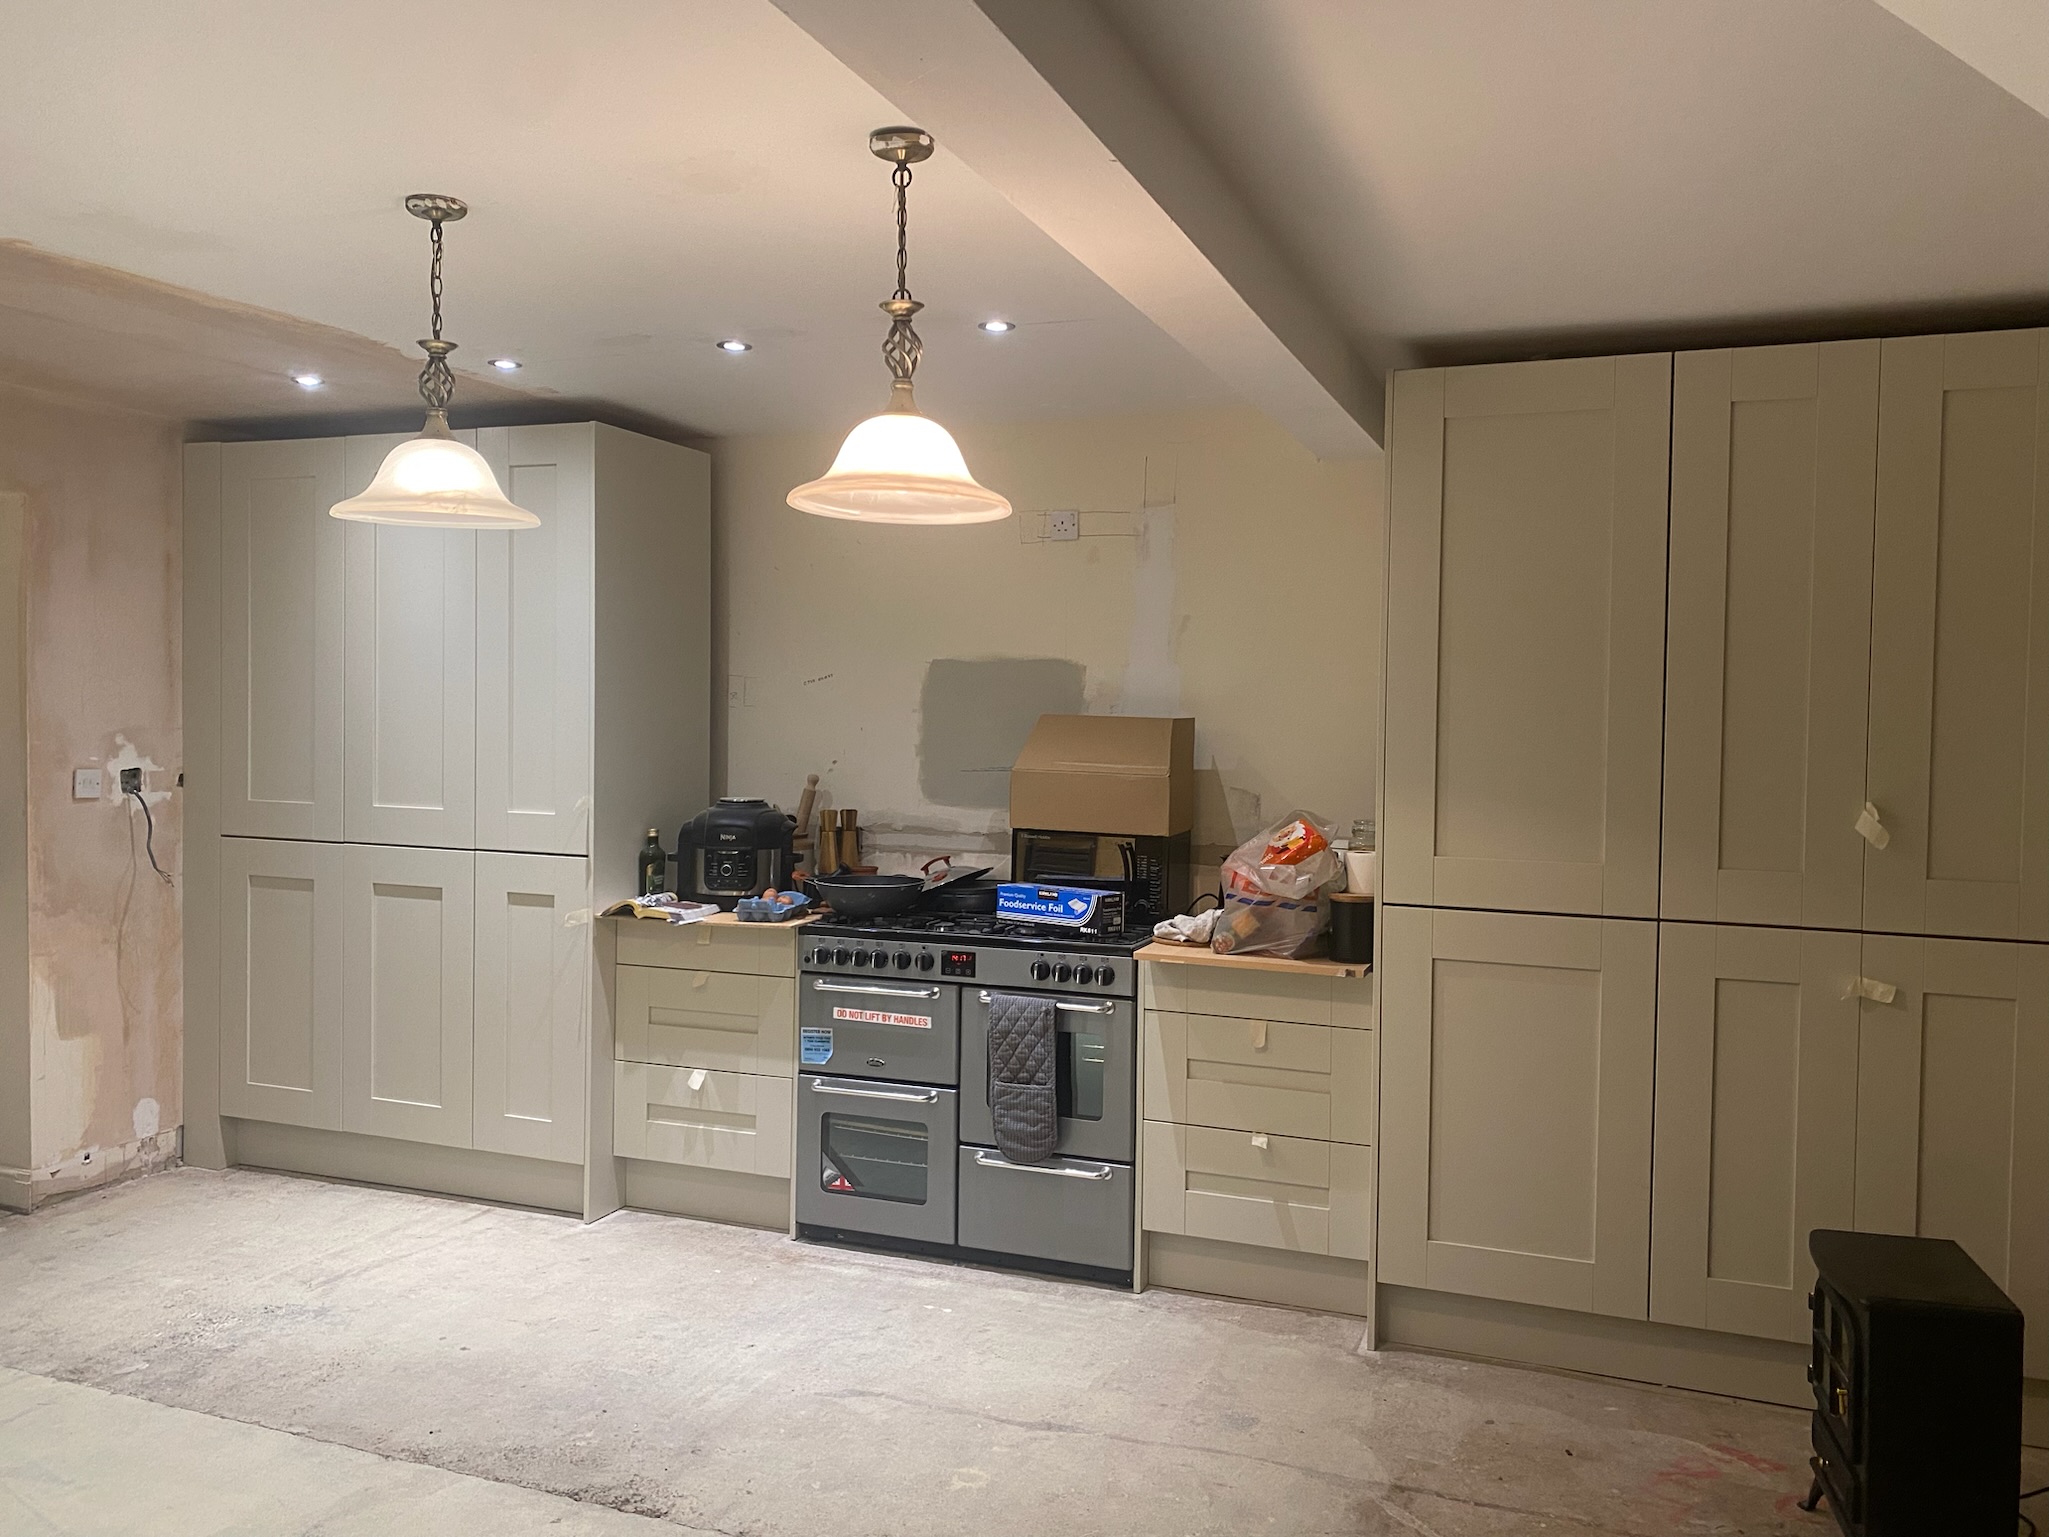
We chose unlacquered brass knobs and pulls for the cabinets, embracing the timeless patina they develop over time. This choice not only enhanced the cottage-inspired aesthetic but also added a personal touch, as the evolving brass reflects the story of a lived-in, well-loved kitchen.

One of the most sentimental additions was a pair of glass pendant lights gifted by my grandmother. Sourced from a local antiques store, they added elegance and a connection to family history, proving that every item in a home can tell a story.
Hosting Christmas in a Work-in-Progress Kitchen


By Christmas, the kitchen was far from finished, but it was functional enough to host family and friends. A fresh coat of Farrow and Ball Wimborne White on the walls brought warmth and brightness to the space, creating the perfect backdrop for holiday festivities.
Although the countertops and backsplash were still on our to-do list, the progress we had made felt monumental. Hosting loved ones in the partially completed space reminded us of why we had embarked on this journey: to create a home where memories could be made.
Looking Ahead
With the foundations of the kitchen complete, the next steps would bring the design to life. Countertops, backsplash, and a custom extractor hood were next on the list.
In the next post, I’ll share how we chose and installed these finishing touches, balancing practicality with the timeless charm of English cottage interiors. Stay tuned for the final chapter of our kitchen transformation!
JG x


Leave a comment