Rendered perspective drawings are sophisticated visualisations which bridge the conceptual with the concrete, transforming intangible ideas into palpable previews of finished space.
Such renderings are not just artistic expressions but are strategic tools essential for both client engagement and the detailed orchestration of design elements.
The Essence of Rendered Perspectives

Rendered perspective drawings serve a dual purpose: they are both a form of art and a crucial communication medium.
By incorporating detailed elements such as textures, shadows, and lighting, these drawings provide a realistic view of an envisioned space, allowing clients to visually inhabit their future environments. This realism is not just about aesthetics but about understanding spatial dynamics and the interplay of design elements within a proposed setting.
Transformative Visualisation
The core benefit of rendered perspectives lies in their ability to enhance visualisation. They provide a clear, detailed view of a design, helping clients and stakeholders understand the spatial relationships and aesthetic nuances of the project.
This clarity is instrumental in decision-making processes, ensuring that the final product aligns with the client’s expectations and functional needs.

Improved Communication
Rendered drawings act as a universal language that transcends subjective interpretation, offering a unified vision that can be shared among designers, clients, and contractors. This shared understanding mitigates the risk of miscommunication and helps streamline the construction process, ensuring a seamless transition from vision to reality.
Accurate Representation
These drawings are meticulously crafted to offer an accurate depiction of materials, finishes, and the overall ambiance of the space. This precision plays a critical role in preventing discrepancies during the actual construction phase, safeguarding the project against potential errors and misinterpretations.
Crafting Rendered Perspective Drawings
The creation of a rendered perspective is a detailed process that integrates artistic vision with technical expertise. Here’s how these captivating visuals come to life:
Tools and Materials
For Hand-Drawn Perspectives:
- Graphite pencils and colored pencils: For sketching and adding color.
- Markers: To enhance contrast and depth.
- Watercolors or acrylic paints: For a more artistic, nuanced touch.
- Brushes and mixing trays: For paint applications.
- High-quality drawing paper: Preferably thick to handle multiple mediums.
- Eraser and sharpener: For corrections and precision.
For CAD Rendered Perspectives:
- Computer with robust specs: To handle high-resolution rendering without lag.
- Advanced rendering software: Such as 3ds Max, V-Ray, or Lumion.
- Photoshop or similar: To post-process images for final touches.
Steps to Create Rendered Perspective Drawings
1. Setting Up the Viewpoint:
- Hand-drawn: Decide on a one-point or two-point perspective. Use a horizon line and vanishing points to establish depth.
- CAD: Set up the camera angle in your 3D modeling software. Ensure it mimics natural sight lines.
2. Sketching the Basic Layout:
- Hand-drawn: Outline the room or space with basic shapes, defining the major elements like walls, furniture, and windows.
- CAD: Use your 3D software to model the room and basic furnishings. Apply initial textures.
3. Adding Details:
- Hand-drawn: Refine the drawing with architectural details, furniture design, and textural elements using finer pencils or pens.
- CAD: Detail your 3D model with accurate textures, fixtures, and furniture models.
4. Applying Textures and Materials:
- Hand-drawn: Use colored pencils, markers, or paints to apply textures mimicking real materials. Consider light direction and its impact on color and shadows.
- CAD: Apply realistic material shaders and textures in your rendering software, adjusting for natural and artificial lighting.
5. Lighting the Scene:
- Hand-drawn: Sketch the effect of light, adding shadows manually to create depth. Use lighter hues to represent light reflection and darker tones for shadowed areas.
- CAD: Set up lighting within the software, experimenting with various sources to simulate daylight and artificial light. Adjust intensity and color temperature.
6. Rendering:
- Hand-drawn: Continue to refine your drawing, adding layers of detail and depth until the perspective is fully rendered.
- CAD: Perform a high-resolution render. This might take time depending on the complexity and software settings.
7. Post-Processing:
- Hand-drawn: Touch up details with fine markers or a dry brush to blend colors and soften edges.
- CAD: Use Photoshop to enhance contrast, brightness, saturation, and to correct any visual imperfections.
8. Final Review and Adjustments:
- Both Methods: Review the rendered drawing for any inaccuracies or elements that might need tweaking. Make necessary adjustments to ensure the perspective is both appealing and accurate.
Different Types of Rendering Mediums
Hand-drawn Mediums:
- Graphite and colored pencils: Best for precision and detail.
- Markers and pens: Provide strong, vibrant colors suitable for modern interiors.
- Paints (watercolor, acrylic): Offer a rich, textured finish that can convey atmosphere and mood.
Digital Rendering Mediums:
- Raster-based tools (Photoshop): Great for texture and detail adjustments post-render.
- Vector-based tools (Illustrator): Useful for clean, crisp architectural lines.
- 3D rendering software (3ds Max, Rhino, Blender): Capable of producing photorealistic renders with dynamic lighting and advanced materials.
Digital vs Hand-Rendered Perspectives

While digital tools have become predominant in creating rendered perspectives, traditional hand-rendered drawings continue to hold their charm and value, often appreciated for their unique artistic qualities. Hybrid approaches combine the best of both worlds, utilising the speed and flexibility of digital tools while retaining the personal touch of hand-drawn renderings.
Conclusion
Rendered perspective drawings are more than just a step in the design process; they are a critical component that brings the vision of interior spaces to life before construction ever begins. These renderings allow designers to experiment, refine, and perfect their ideas, ensuring that the final space is not only beautiful but functional and true to the client’s aspirations.
Next week we will discuss the importance of technical drawings, specifically floor plans in the design process. Until then, practice your perspective drawings!
JG x
Get new content delivered directly to your inbox
-
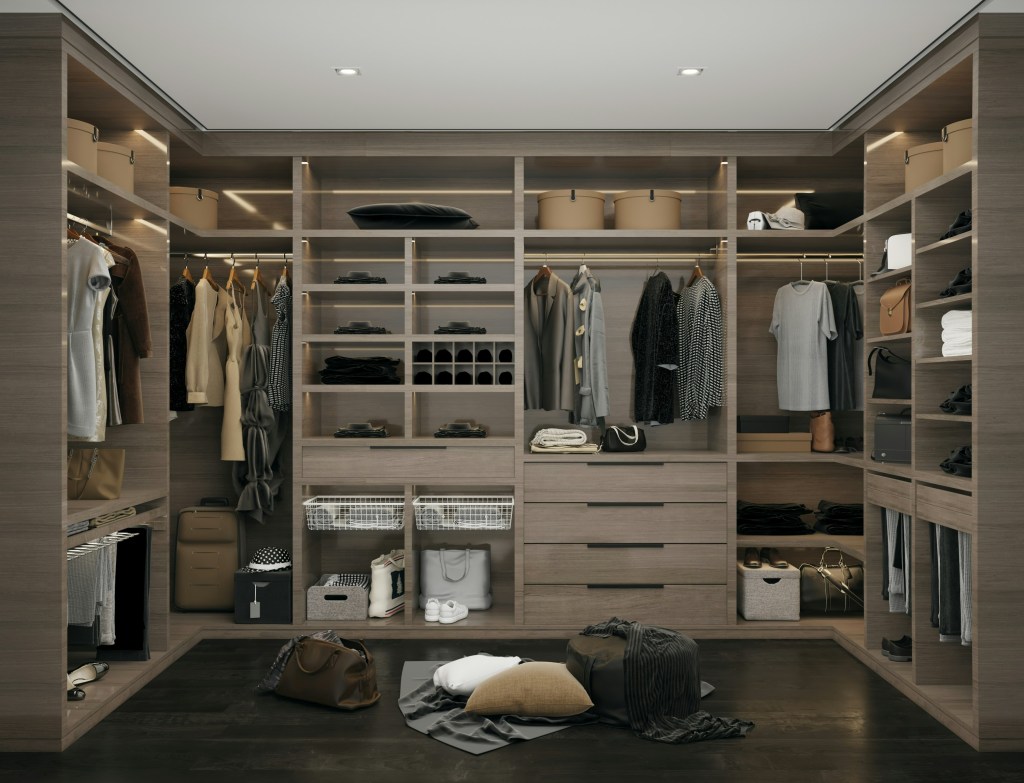
The Interior Life of the Closet
A psychological dissection of the storage lie. This essay argues that the modern obsession with seamless, integrated, invisible storage is an architectural attempt to deny our consumerist reality. We critique the walk-in wardrobe as the last sanctuary—the only truly private room remaining in the open-plan home—where the inhabitant is finally permitted to hoard, display, and…
-
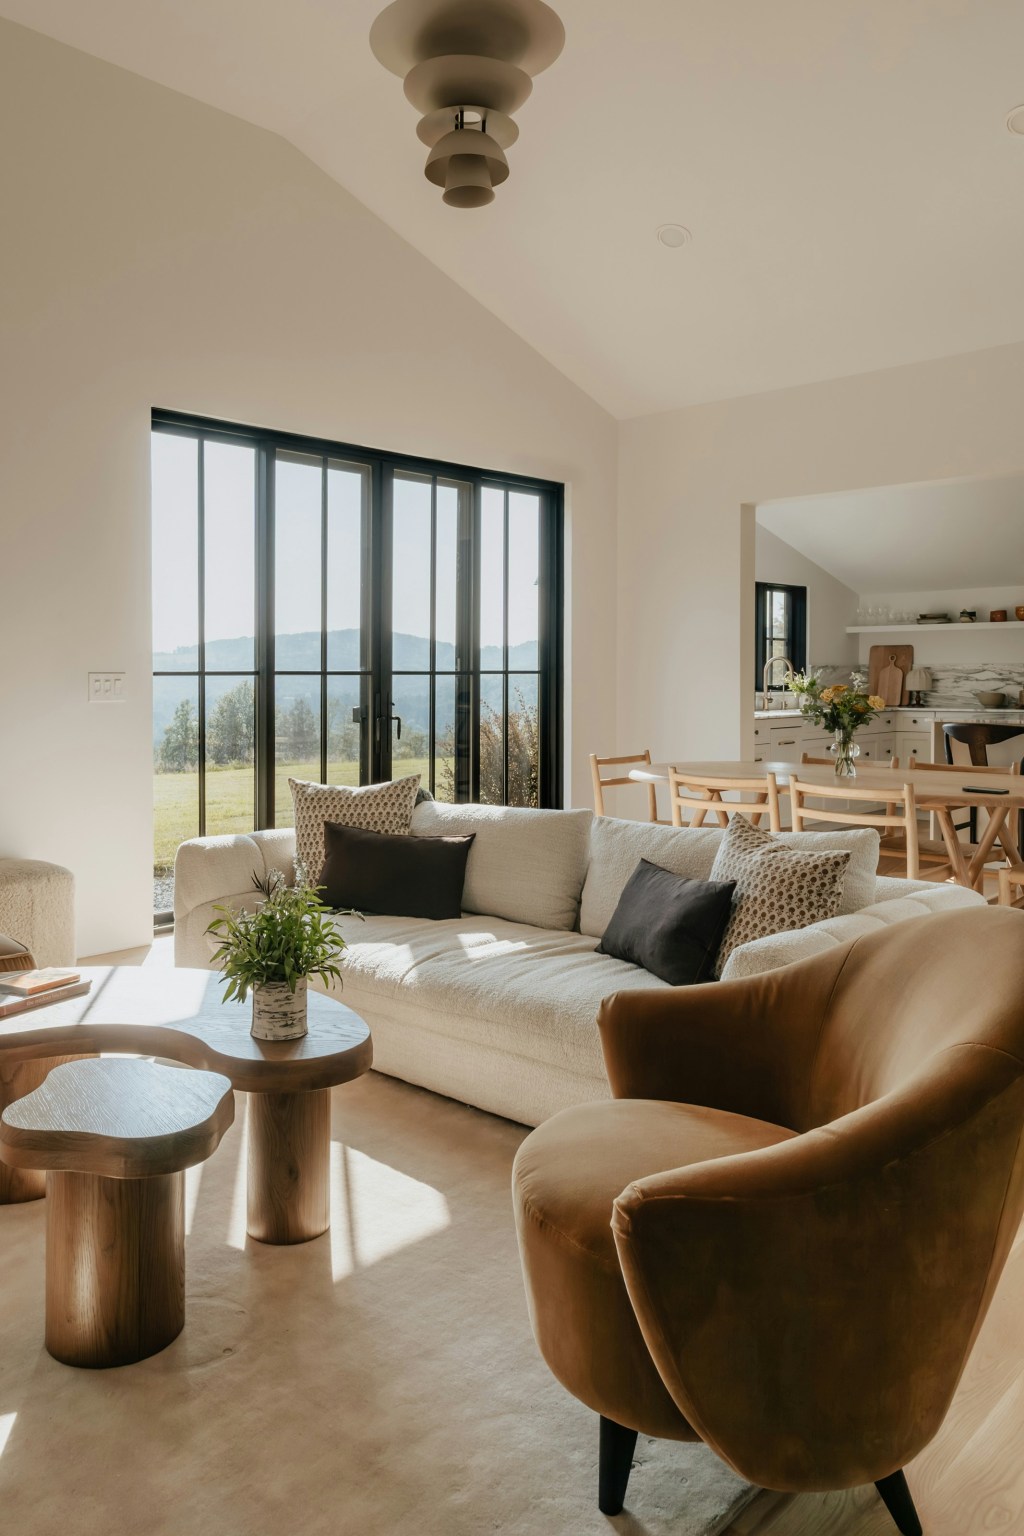
The Anxiety of the Open Concept
A ruthless dissection of the modern open-plan home. This essay argues that the dissolution of walls is a symptom of a society that prioritizes surveillance and perpetual productivity over the right to privacy and retreat. We critique the open concept as an architectural mandate designed to keep family members, guests, and workers in a constant…
-

The Tyranny of the Pure Surface
A philosophical takedown of the pursuit of sterile perfection. This essay critiques the obsessive use of unforgiving, high-maintenance surfaces (Carrara marble, ultra-white quartz) in the modern kitchen. We argue that the material’s impracticality is the point: it’s a luxury status symbol requiring endless maintenance, serving as a constant, expensive performance of aspirational hygiene and total…

Leave a comment