
In the intricate world of interior design, effective communication is pivotal. Beyond mere dialogue, the true essence of a design concept often hinges on its visual and tactile presentation.
Enter the sample board – a fundamental tool that transcends traditional verbal and written communication, offering a tangible glimpse into the envisioned space.
The Vital Role of Sample Boards

Sample boards are the bridge between abstract design ideas and their physical realisation. They serve as a curated display of materials, colours, and textures, meticulously chosen to represent the final look and feel of a space. This tactile presentation allows clients to visualise and ‘feel’ the design, making it an indispensable tool for approval and feedback.
Purpose and Benefits
The primary function of a sample board is to present a cohesive collection of design materials that will define a space. Whether it’s the lush texture of a carpet, the sleek sheen of a wood finish, or the vibrant hue of a wall paint, each sample plays a crucial role in shaping the client’s perception and understanding of the proposed design.
- Tactile Experience: Physical interaction with the materials empowers clients, enhancing their understanding and confidence in the material choices.
- Visual Cohesion: Placing all materials together on a single board allows for a holistic view of how different elements interact, ensuring aesthetic harmony.
- Client Engagement: These boards actively involve clients in the decision-making process, fostering a collaborative environment.
Crafting the Perfect Sample Board

Creating an effective sample board is both an art and a science. It requires a deep understanding of the project’s vision, the client’s preferences, and the functional needs of the space.
Tools and Materials
For Handmade Sample Boards:
- Baseboard: A large piece of foam core or mounting board serves as the backing.
- Fabric swatches, paint chips, and material samples: These are the physical samples of each material planned for use in the project.
- Adhesives: Double-sided tape or glue dots to secure samples to the board.
- Labels: For detailing the source, cost, and other specifications of each material.
- Cutting tools: Scissors and a craft knife for trimming samples to size.
For CAD Sample Boards:
- Graphic design software: Such as Adobe Photoshop or Illustrator.
- Digital images of materials: High-resolution images that accurately represent the materials and finishes.
- Printer: For printing out the digital sample board, if a physical copy is needed.
Steps to Create Sample Boards
1. Planning and Layout:
- Handmade: Arrange your materials on the board without fixing them, experimenting with layout until you achieve a visually pleasing composition that represents the project effectively.
- CAD: Use software to drag and drop digital samples onto a virtual board, adjusting sizes and layouts digitally.
2. Selecting Samples:
- Both Methods: Choose samples that represent all materials in the project—fabrics, flooring, wall finishes, etc. Ensure a variety of textures and colors that match the design palette.
3. Preparing Materials:
- Handmade: Cut and trim physical samples to uniform sizes to fit neatly on your board. This keeps it organized and easy to understand.
- CAD: Crop and adjust digital images to uniform dimensions and correct colors if necessary to reflect true-to-life appearances.
4. Affixing Samples:
- Handmade: Secure each piece to the baseboard with adhesives. Make sure they are flat and well-arranged to prevent peeling or bulging.
- CAD: Align digital samples on the virtual board using software tools to ensure they are neatly organized and spaced.
5. Labeling:
- Both Methods: Clearly label each sample with information such as the material type, color, supplier, and reference number. In CAD, add text boxes next to each sample.
6. Adding Details:
- Handmade: You might want to include extra elements like small design sketches or photos of the proposed space.
- CAD: Insert additional digital images or renderings that enhance the presentation of the board.
7. Finalizing the Board:
- Handmade: Review the physical board for any loose elements or misalignments. Ensure all labels are readable and everything is securely attached.
- CAD: Apply final adjustments to the layout, font sizes, and image resolutions. Save in high quality and consider printing on high-grade material for presentations.
8. Presentation:
- Both Methods: Present the sample board in a way that enhances client understanding and engagement. Explain the choices and how they contribute to the overall design vision.
Additional Tips
- Keep it Clean: Avoid overcrowding your sample board. Each material should be distinctly visible without overlapping significantly.
- Hierarchy and Flow: Arrange materials from largest to smallest or from floor to ceiling in terms of application in the space to create a logical flow.
- Digital Enhancement: For CAD boards, consider using tools to create a 3D effect for enhanced visualization.
Digital Transformation in Sample Board Creation

While traditional sample boards continue to hold significant value, the advent of digital technology has introduced a new dimension to sample board creation.
Digital sample boards are becoming increasingly popular, thanks to their flexibility and the ease with which they can be shared and modified.
Advantages of Digital Sample Boards
- Accessibility: Digital boards can be shared instantly with clients and team members across the globe, making remote consultations and revisions straightforward.
- Flexibility: Changes and updates to the design can be made quickly without the need for physical sample replacements.
- Convenience: For designers working remotely or in dynamic environments, digital boards offer a practical alternative that retains the visual appeal of traditional boards without the physical bulk.
Conclusion
Sample boards are more than just collections of materials; they are a critical narrative tool in interior design. They allow designers to communicate complex ideas in a universally understandable way, engaging clients’ senses and emotions.
The evolution from physical to digital boards represents not a replacement but an expansion of the designer’s toolkit, offering new ways to connect with clients and adapt to the changing dynamics of design presentation.
Next week, we’ll look at how each element of the design cycle comes together to help produce a realistic representation of the design.
JG x
Get new content delivered directly to your inbox
-
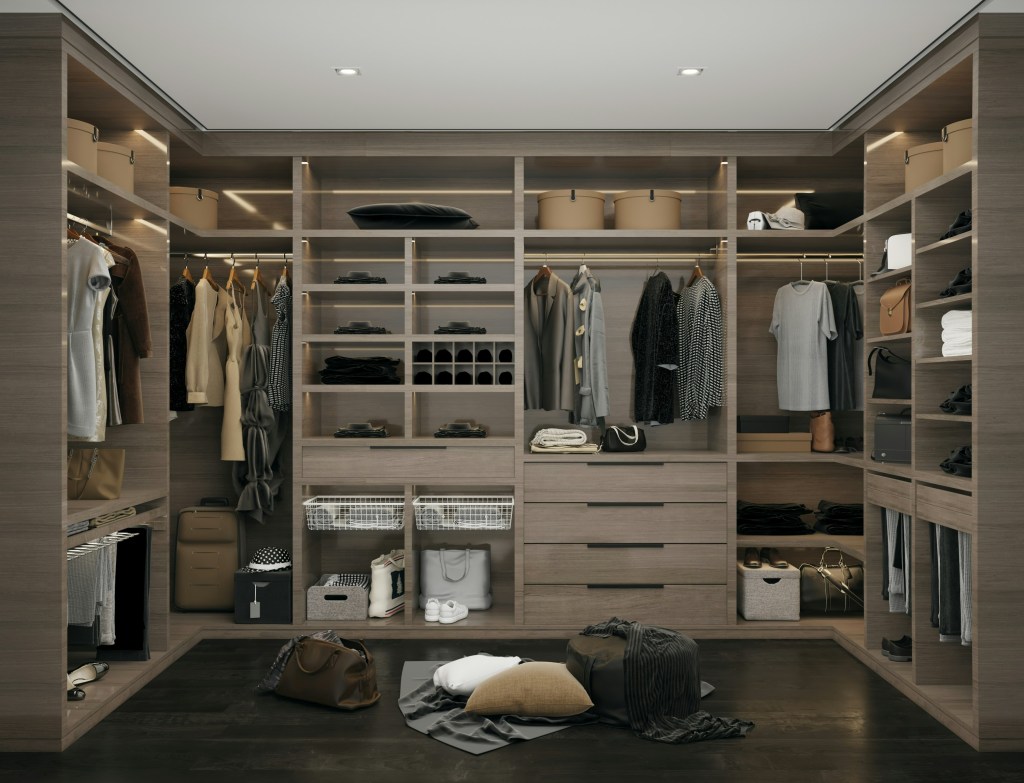
The Interior Life of the Closet
A psychological dissection of the storage lie. This essay argues that the modern obsession with seamless, integrated, invisible storage is an architectural attempt to deny our consumerist reality. We critique the walk-in wardrobe as the last sanctuary—the only truly private room remaining in the open-plan home—where the inhabitant is finally permitted to hoard, display, and…
-
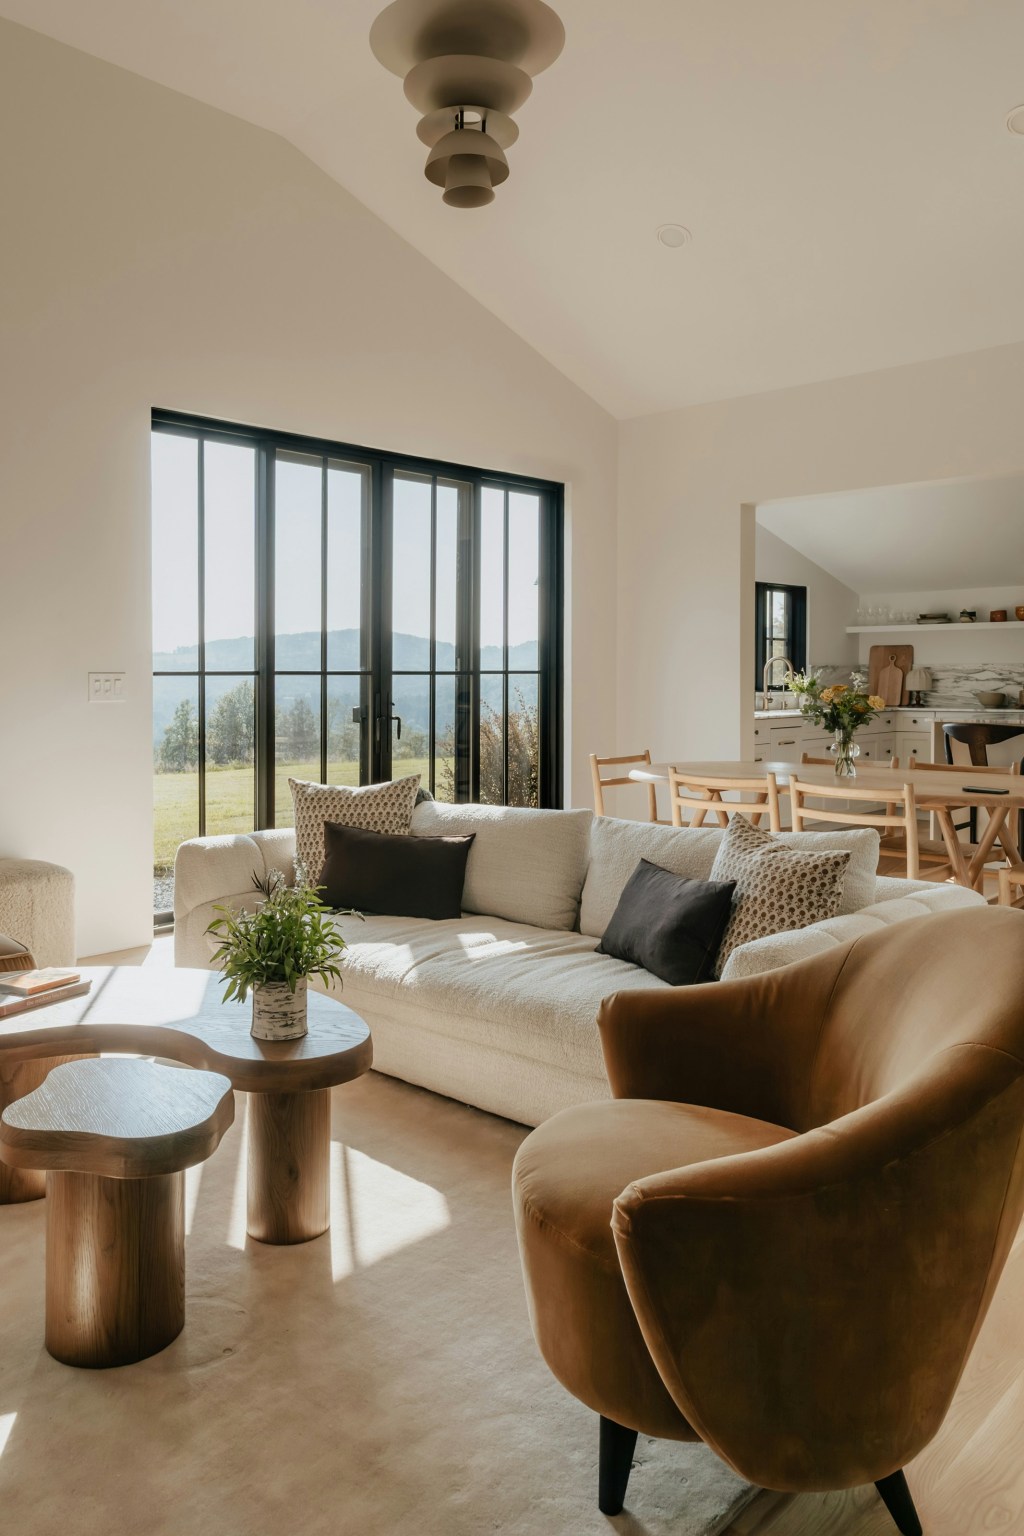
The Anxiety of the Open Concept
A ruthless dissection of the modern open-plan home. This essay argues that the dissolution of walls is a symptom of a society that prioritizes surveillance and perpetual productivity over the right to privacy and retreat. We critique the open concept as an architectural mandate designed to keep family members, guests, and workers in a constant…
-

The Tyranny of the Pure Surface
A philosophical takedown of the pursuit of sterile perfection. This essay critiques the obsessive use of unforgiving, high-maintenance surfaces (Carrara marble, ultra-white quartz) in the modern kitchen. We argue that the material’s impracticality is the point: it’s a luxury status symbol requiring endless maintenance, serving as a constant, expensive performance of aspirational hygiene and total…

Leave a comment